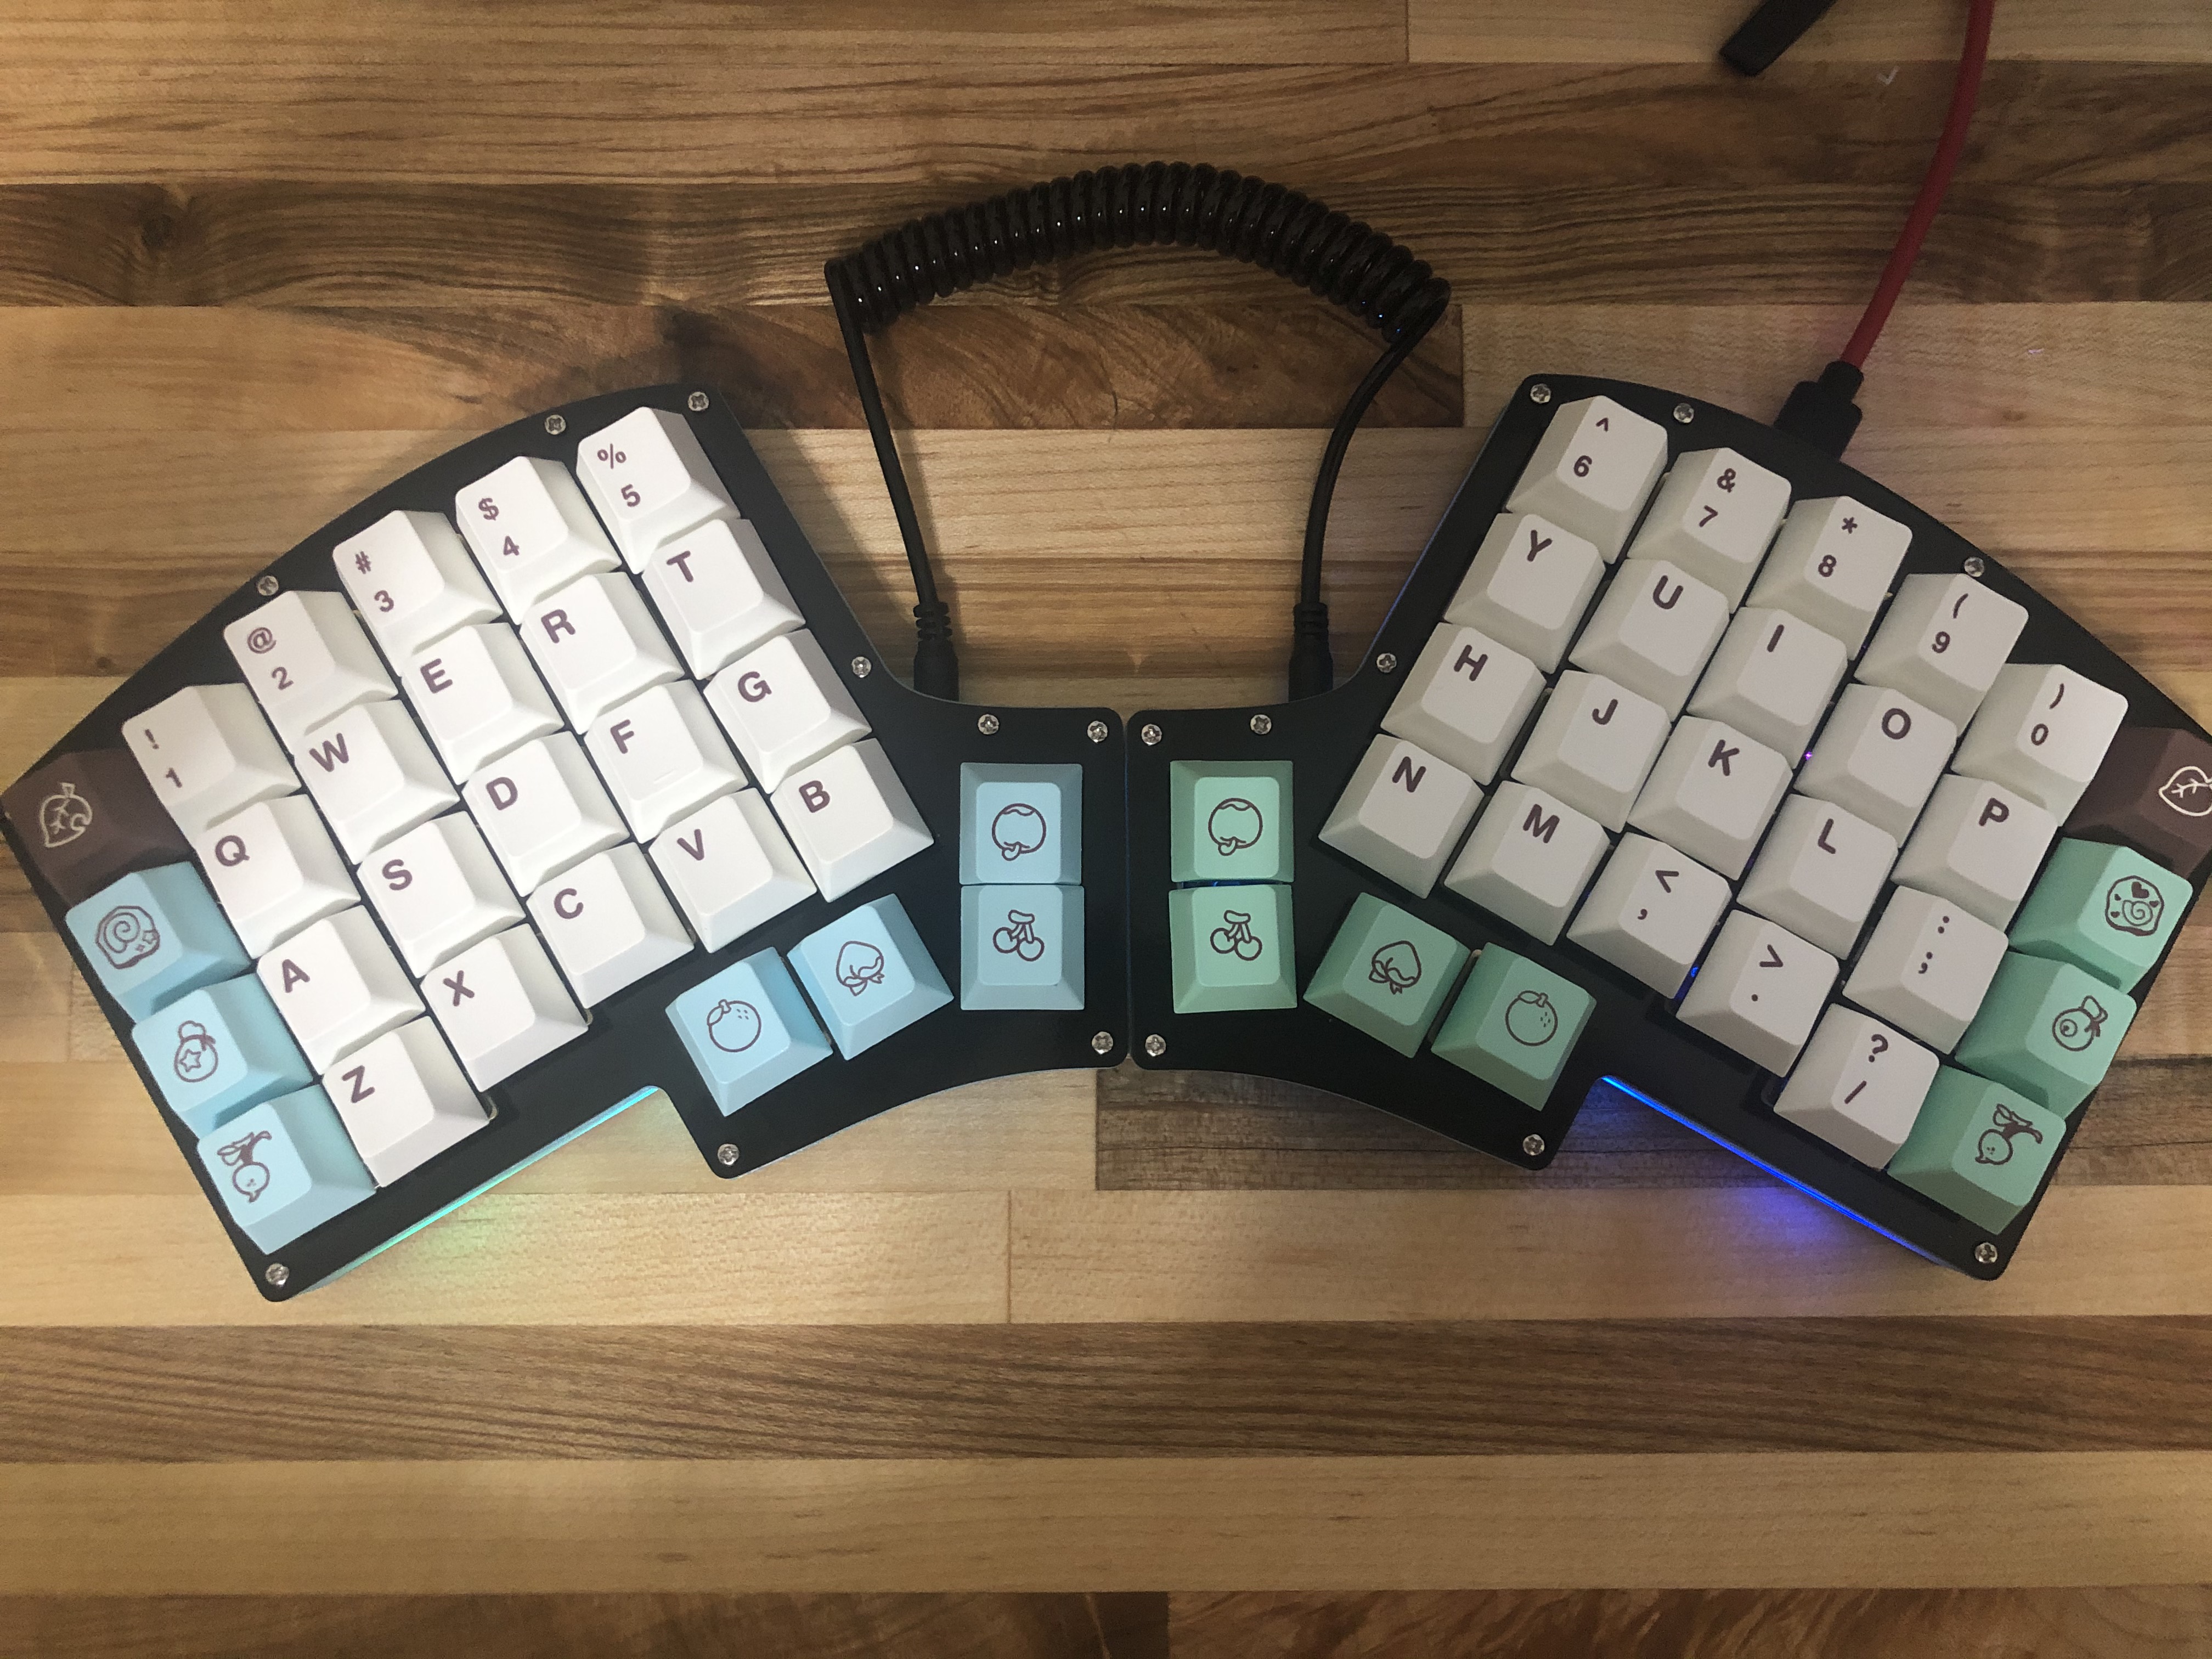
My First Keyboard Build - Iris
Yesterday I finished my first keyboard build! It is the Iris keyboard by keeb.io. I learned so much along the way.
The keyboard was recommended to me by my girlfriend’s brother. He recommended it as an entryway to see if I liked the split keyboard layout. I later also discovered it was ortholinear, so I decided to take the plunge and bought the pcbs and outer layers. I didn’t buy any mid-layer initially because it was unnecessary.
I tried out some switches that he had around and discovered I didn’t hate linear or clicky switches as much as I thought I would. After doing some additional research and listening to some sound test online, I decided to order some Gateron Blacks, Gateron Yellows, and Kalilh Box Jades. It may seem like a lot of switches, but I had entered some key cap group buys so I knew I would have stuff to use it for.
The switches and Iris came in around the same time and it was then that I realized I would have to solder the switches onto the pcb board. Now, I do have previous solder experience, but it was over 7-8 years ago in a college course I took. It was time to do more research - on a soldering station to buy and techniques for soldering.
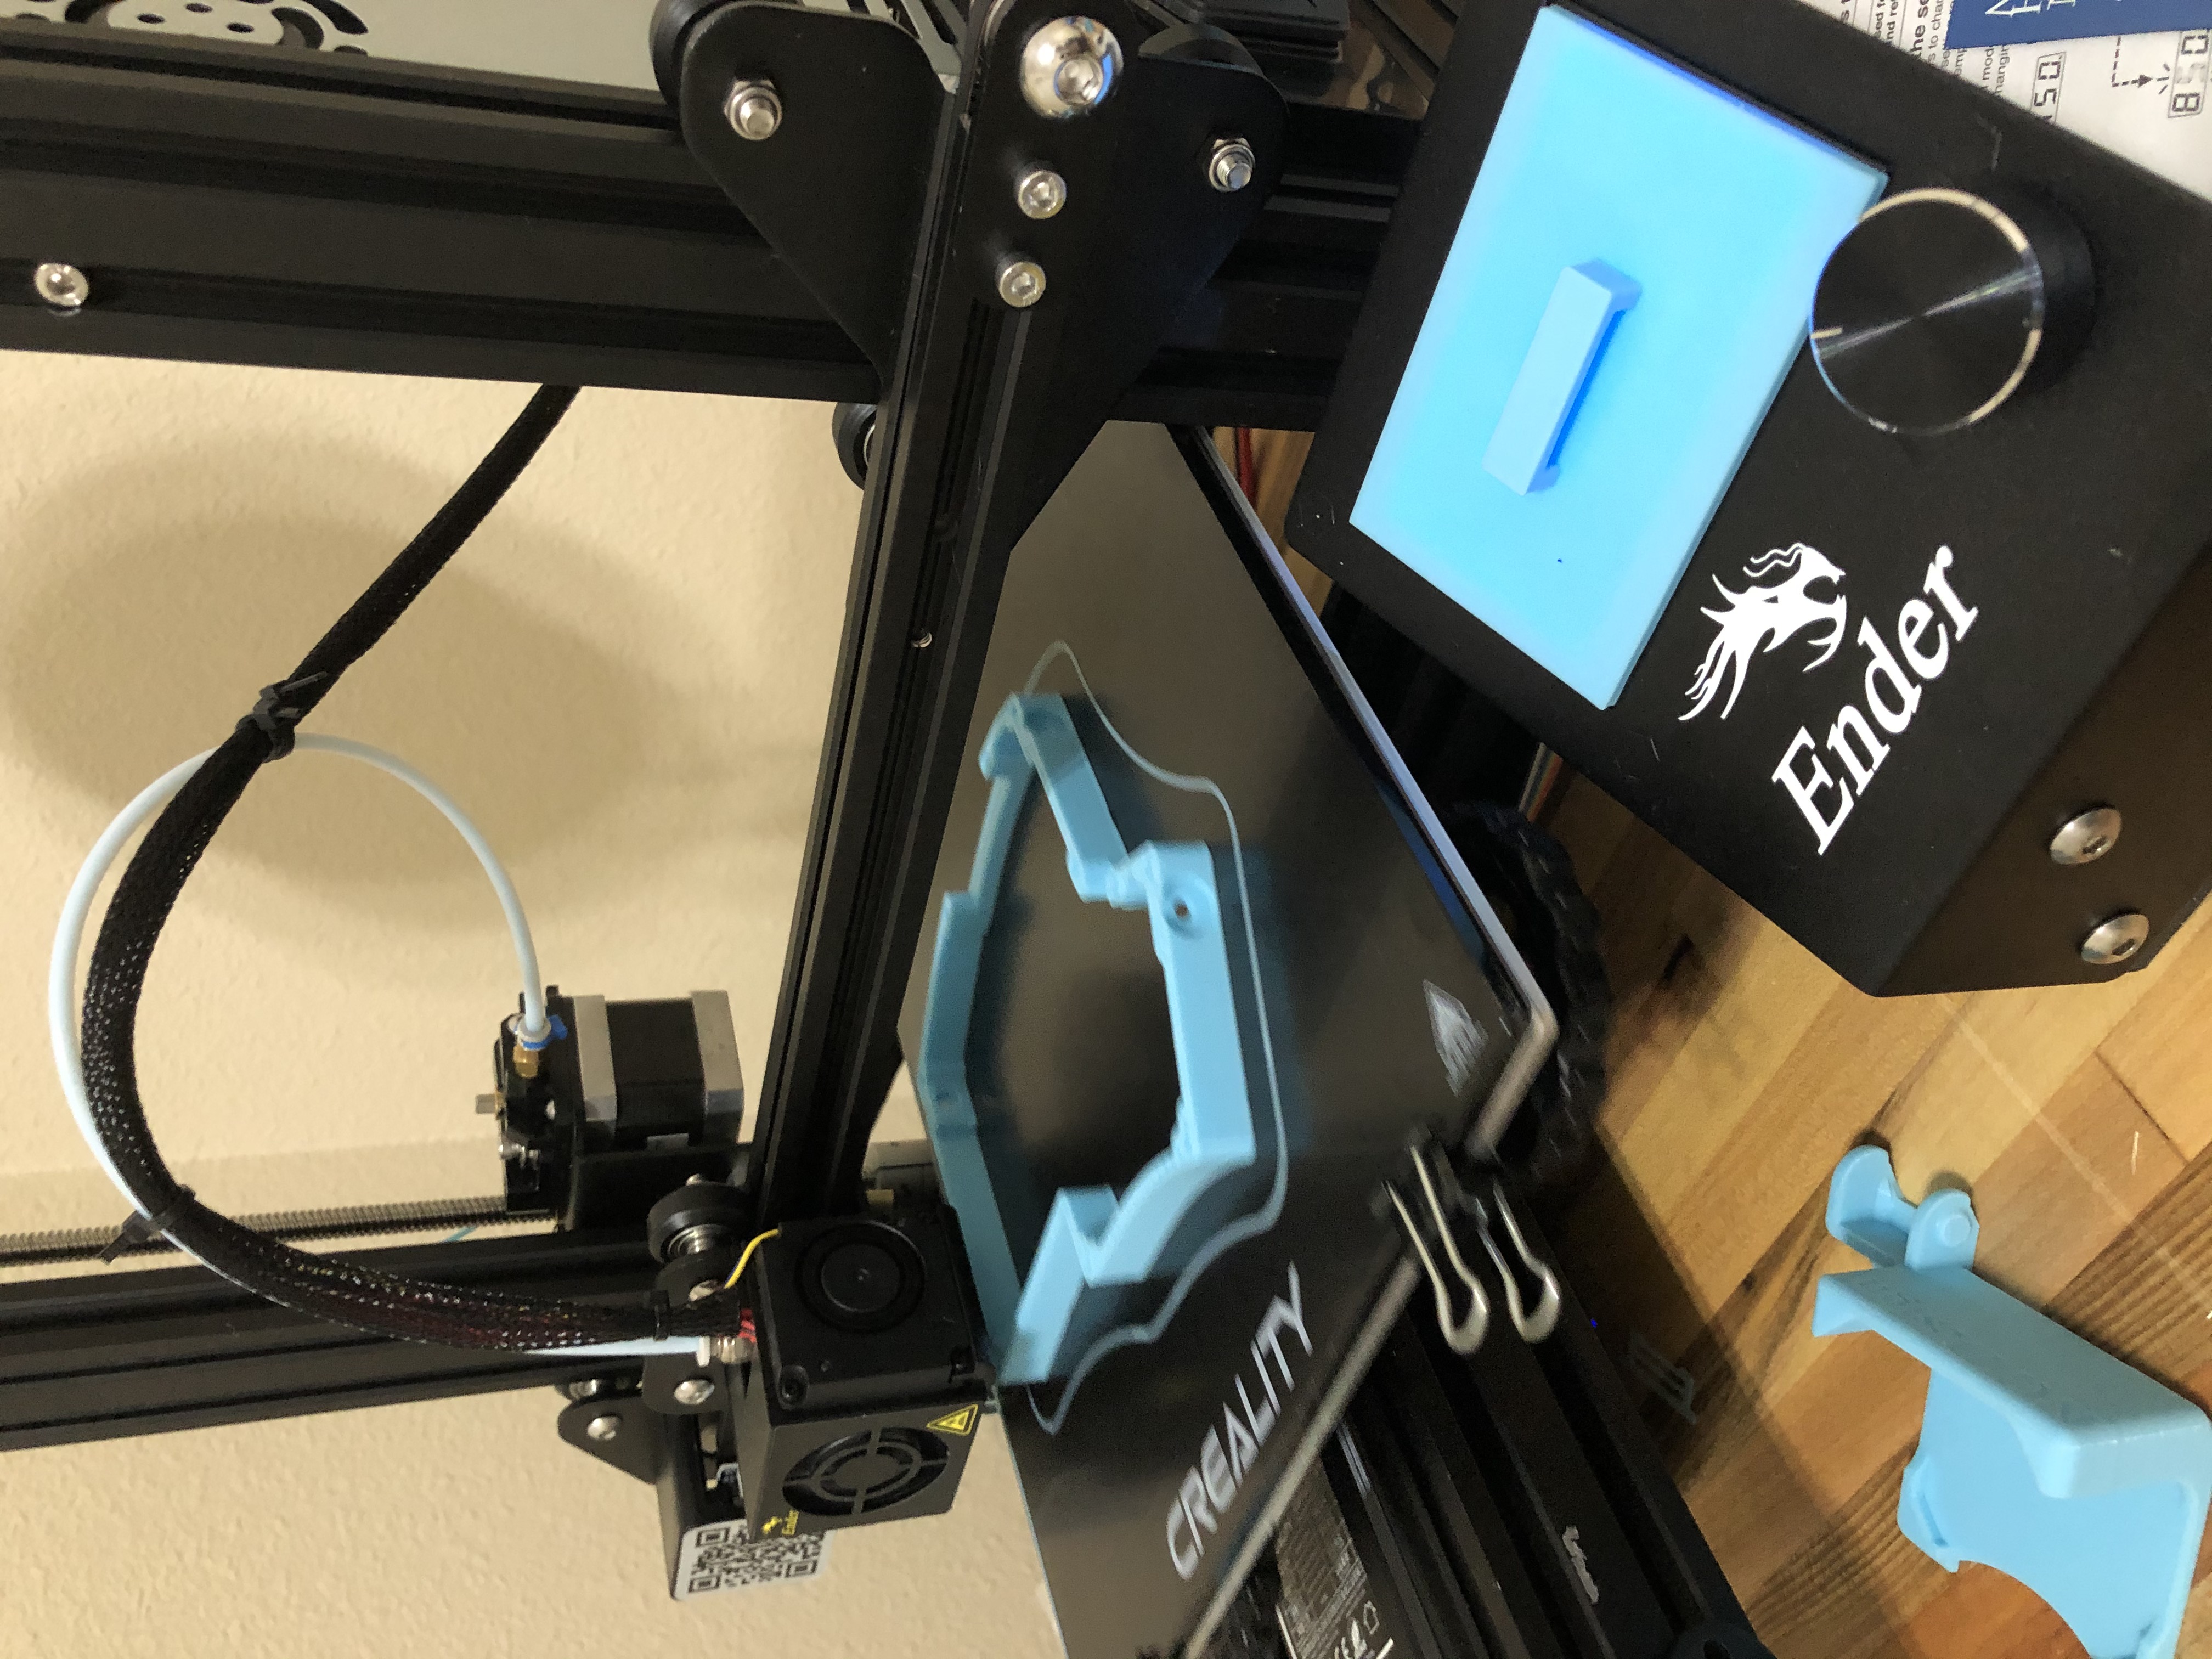
It was around this time when I also looked into 3D printers and possibly 3D printing the middle layer. My friend Annie (from middle school) showed me some of her prints and I decided to get one myself. I put in more time into researching 3D printers and filaments and setting one up. I went to MicroCenter and bought the soldering station (Hakko), 3D printer (Ender 3 pro), and filament (Microcenter-branded).
Now came the hard part. After spending days wasting time not making any progress on the build, I finally took the time to solder the switches to the pcb, which honestly was super easy. I printed the middle layer (after numerous failed attempts and calibration of the 3D printer). I ran into some M2 standoff troubles (which I reached out to keeb.io and they acknowledged a bad batch of M2 standoffs and sent me some more) and finally the keyboard was done!
Some comments:
I realized these pcbs came with the microcontroller built-in, which previous versions did not have. I also learned that it has built-in LED lights with the option to add more (when the LEDs flashed on after I plugged in the USB-C). The USB-C was a little hard to plug in because the middle layer did not allow for thicker USB-C cables. I would redo some of the soldering next time because some of the keycaps (and therefore switches) are a bit crooked. I also need to become accustomed to the ortholinear layout and start practicing on it and flashing it with the keymap I would like to use.
Pics below!
Details:
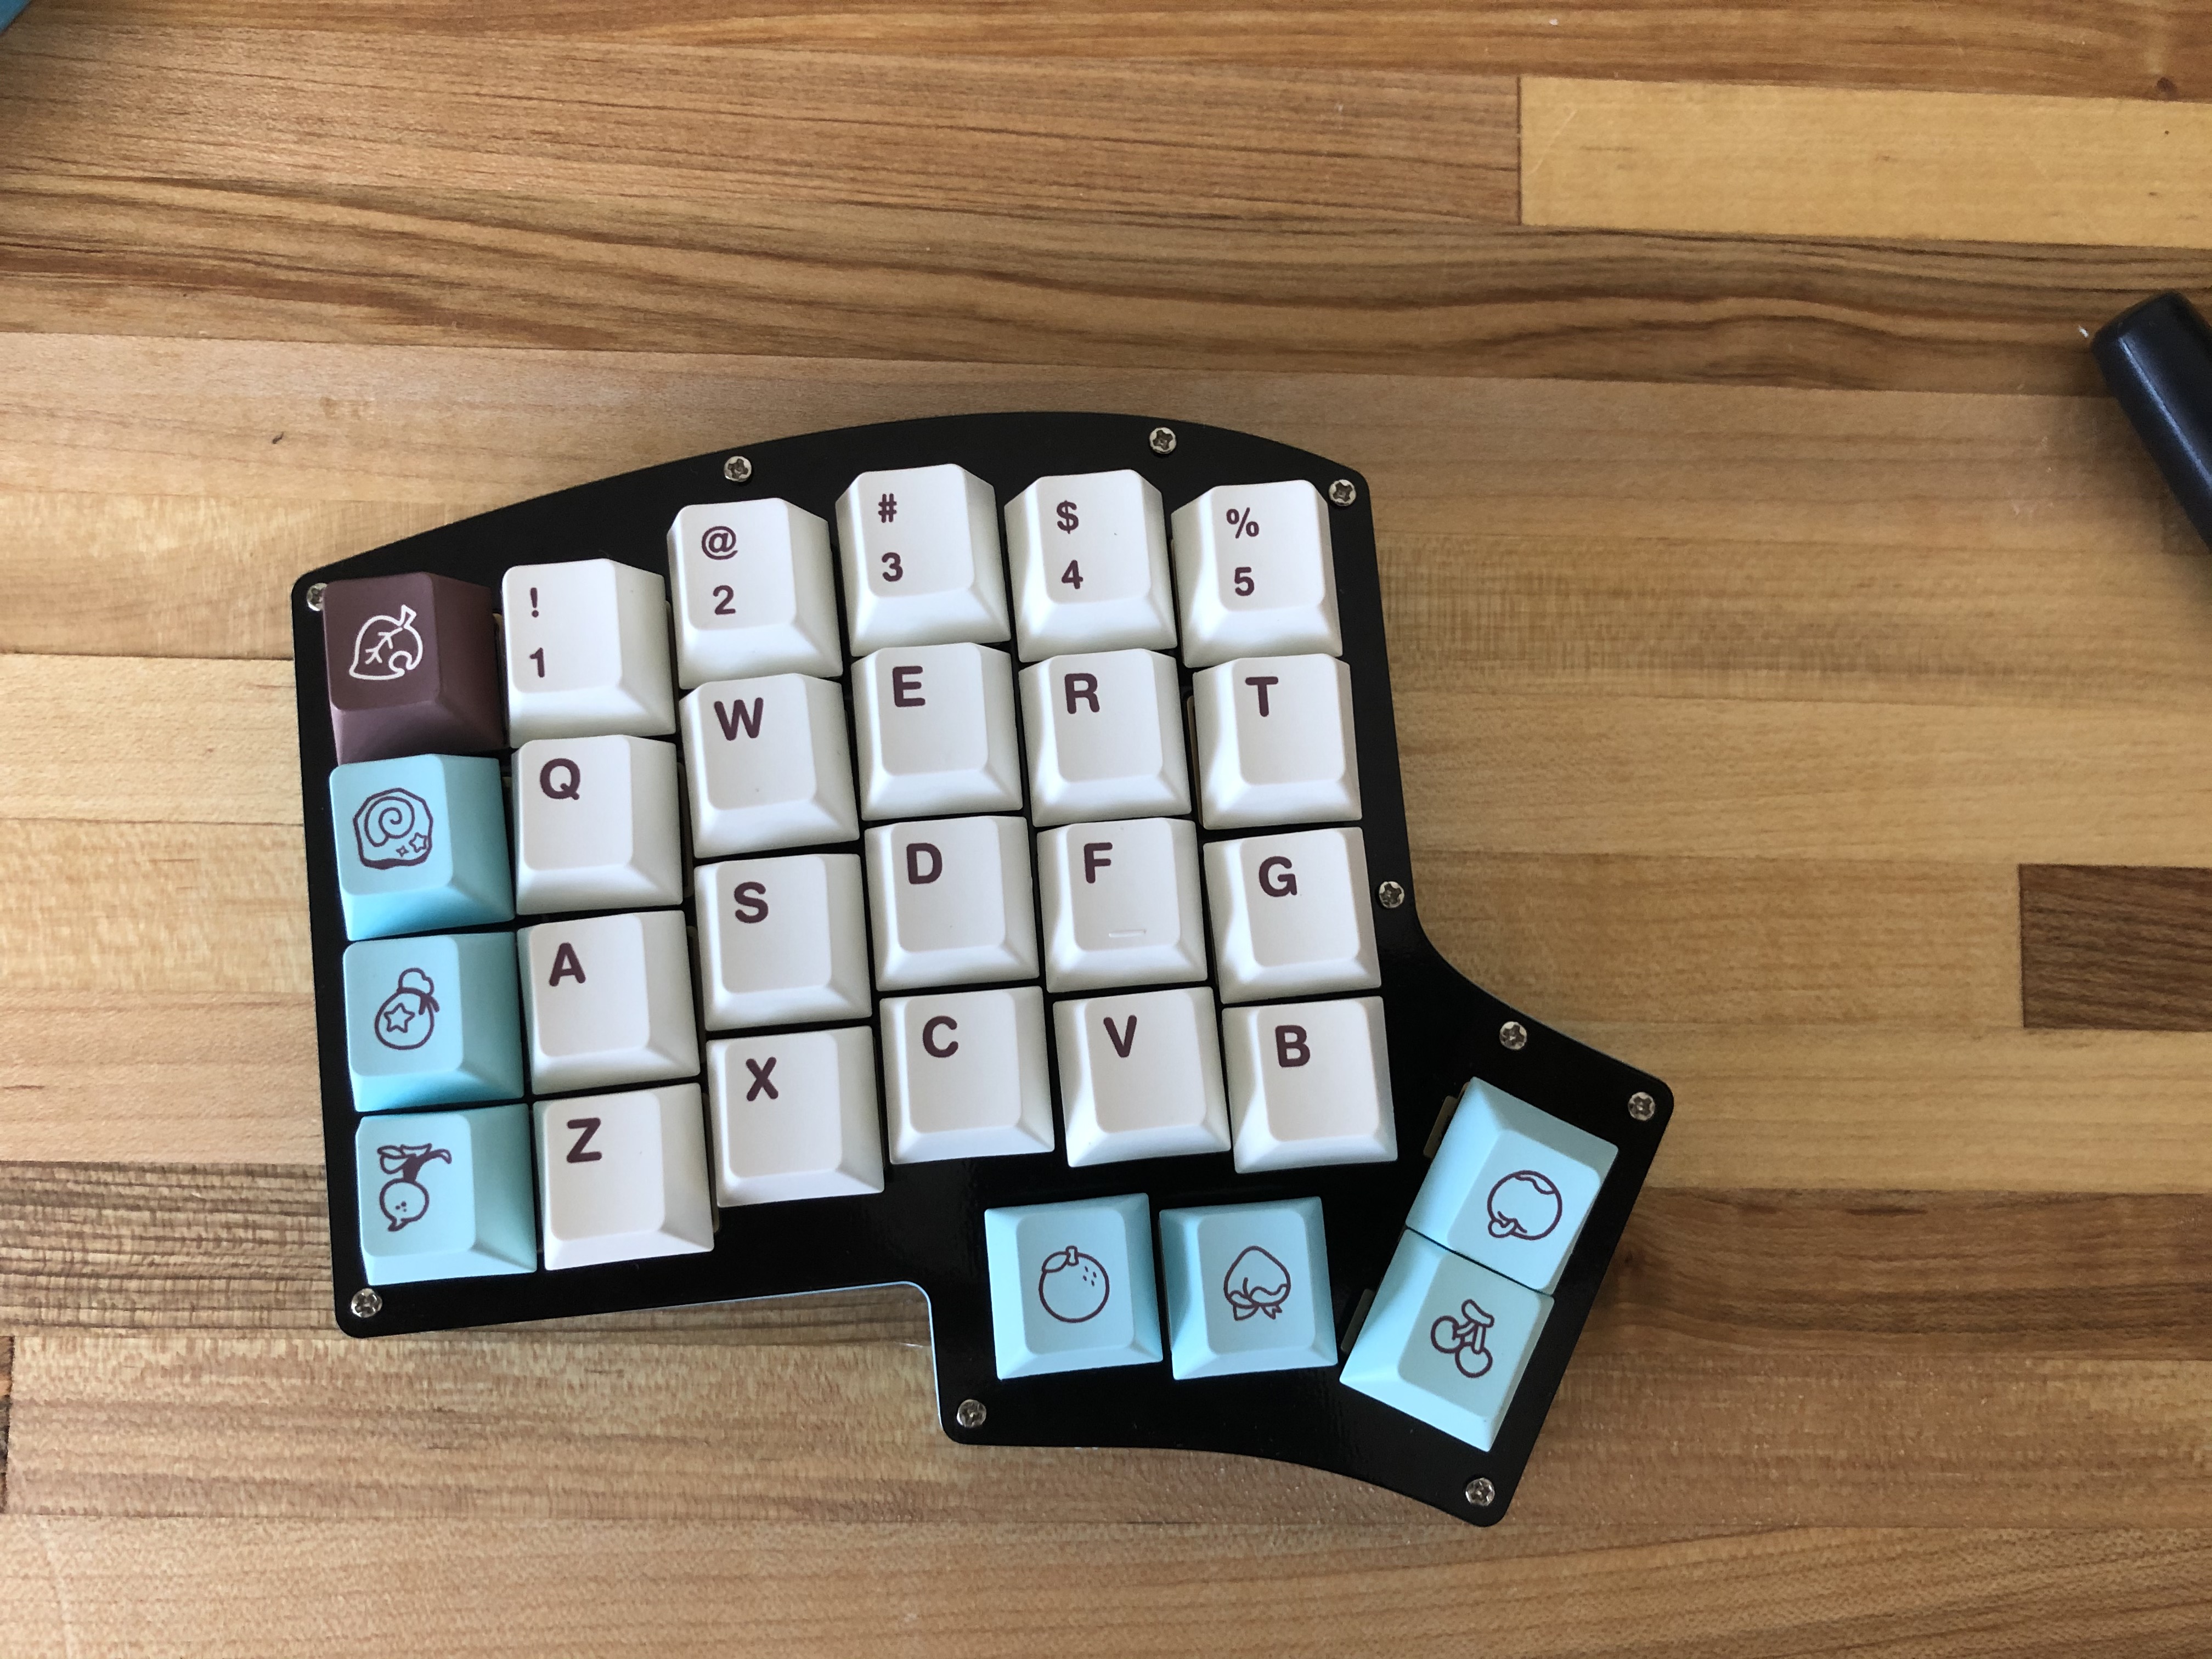
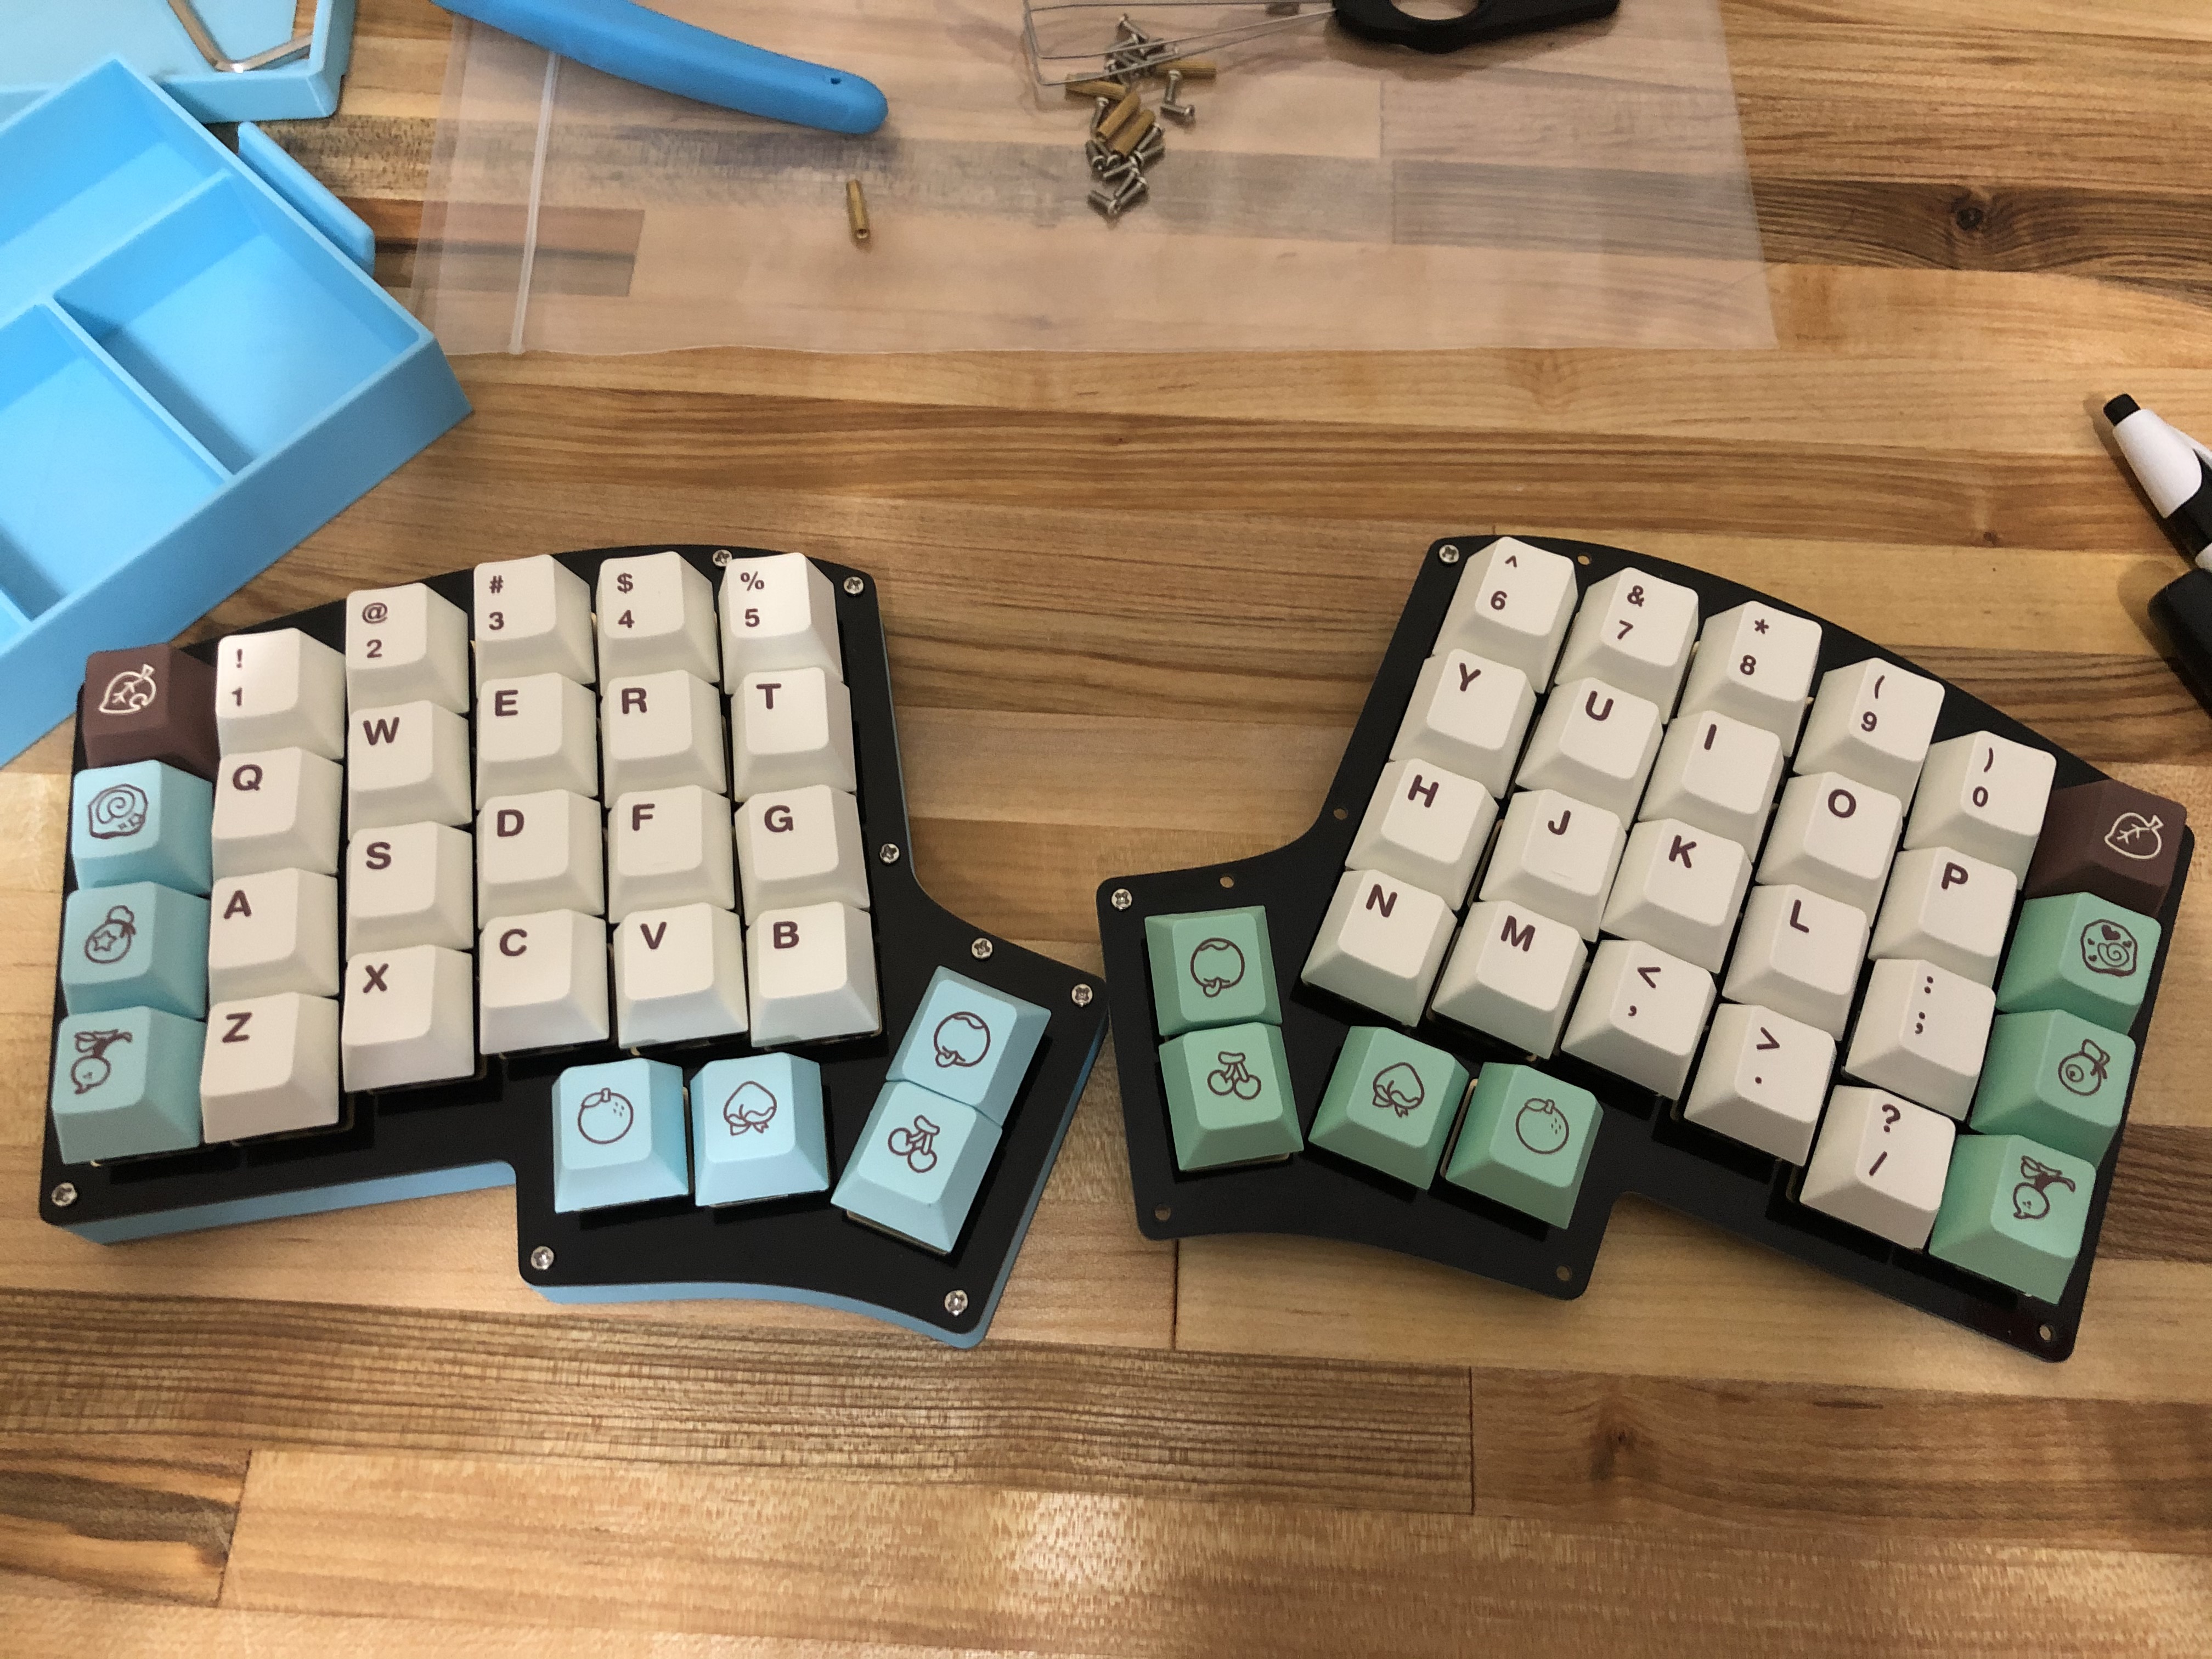
PCB: Iris split keyboard by keeb.io
Middle Layer: 3D Printed w/ MicroCenter Brand PLA Turquoise
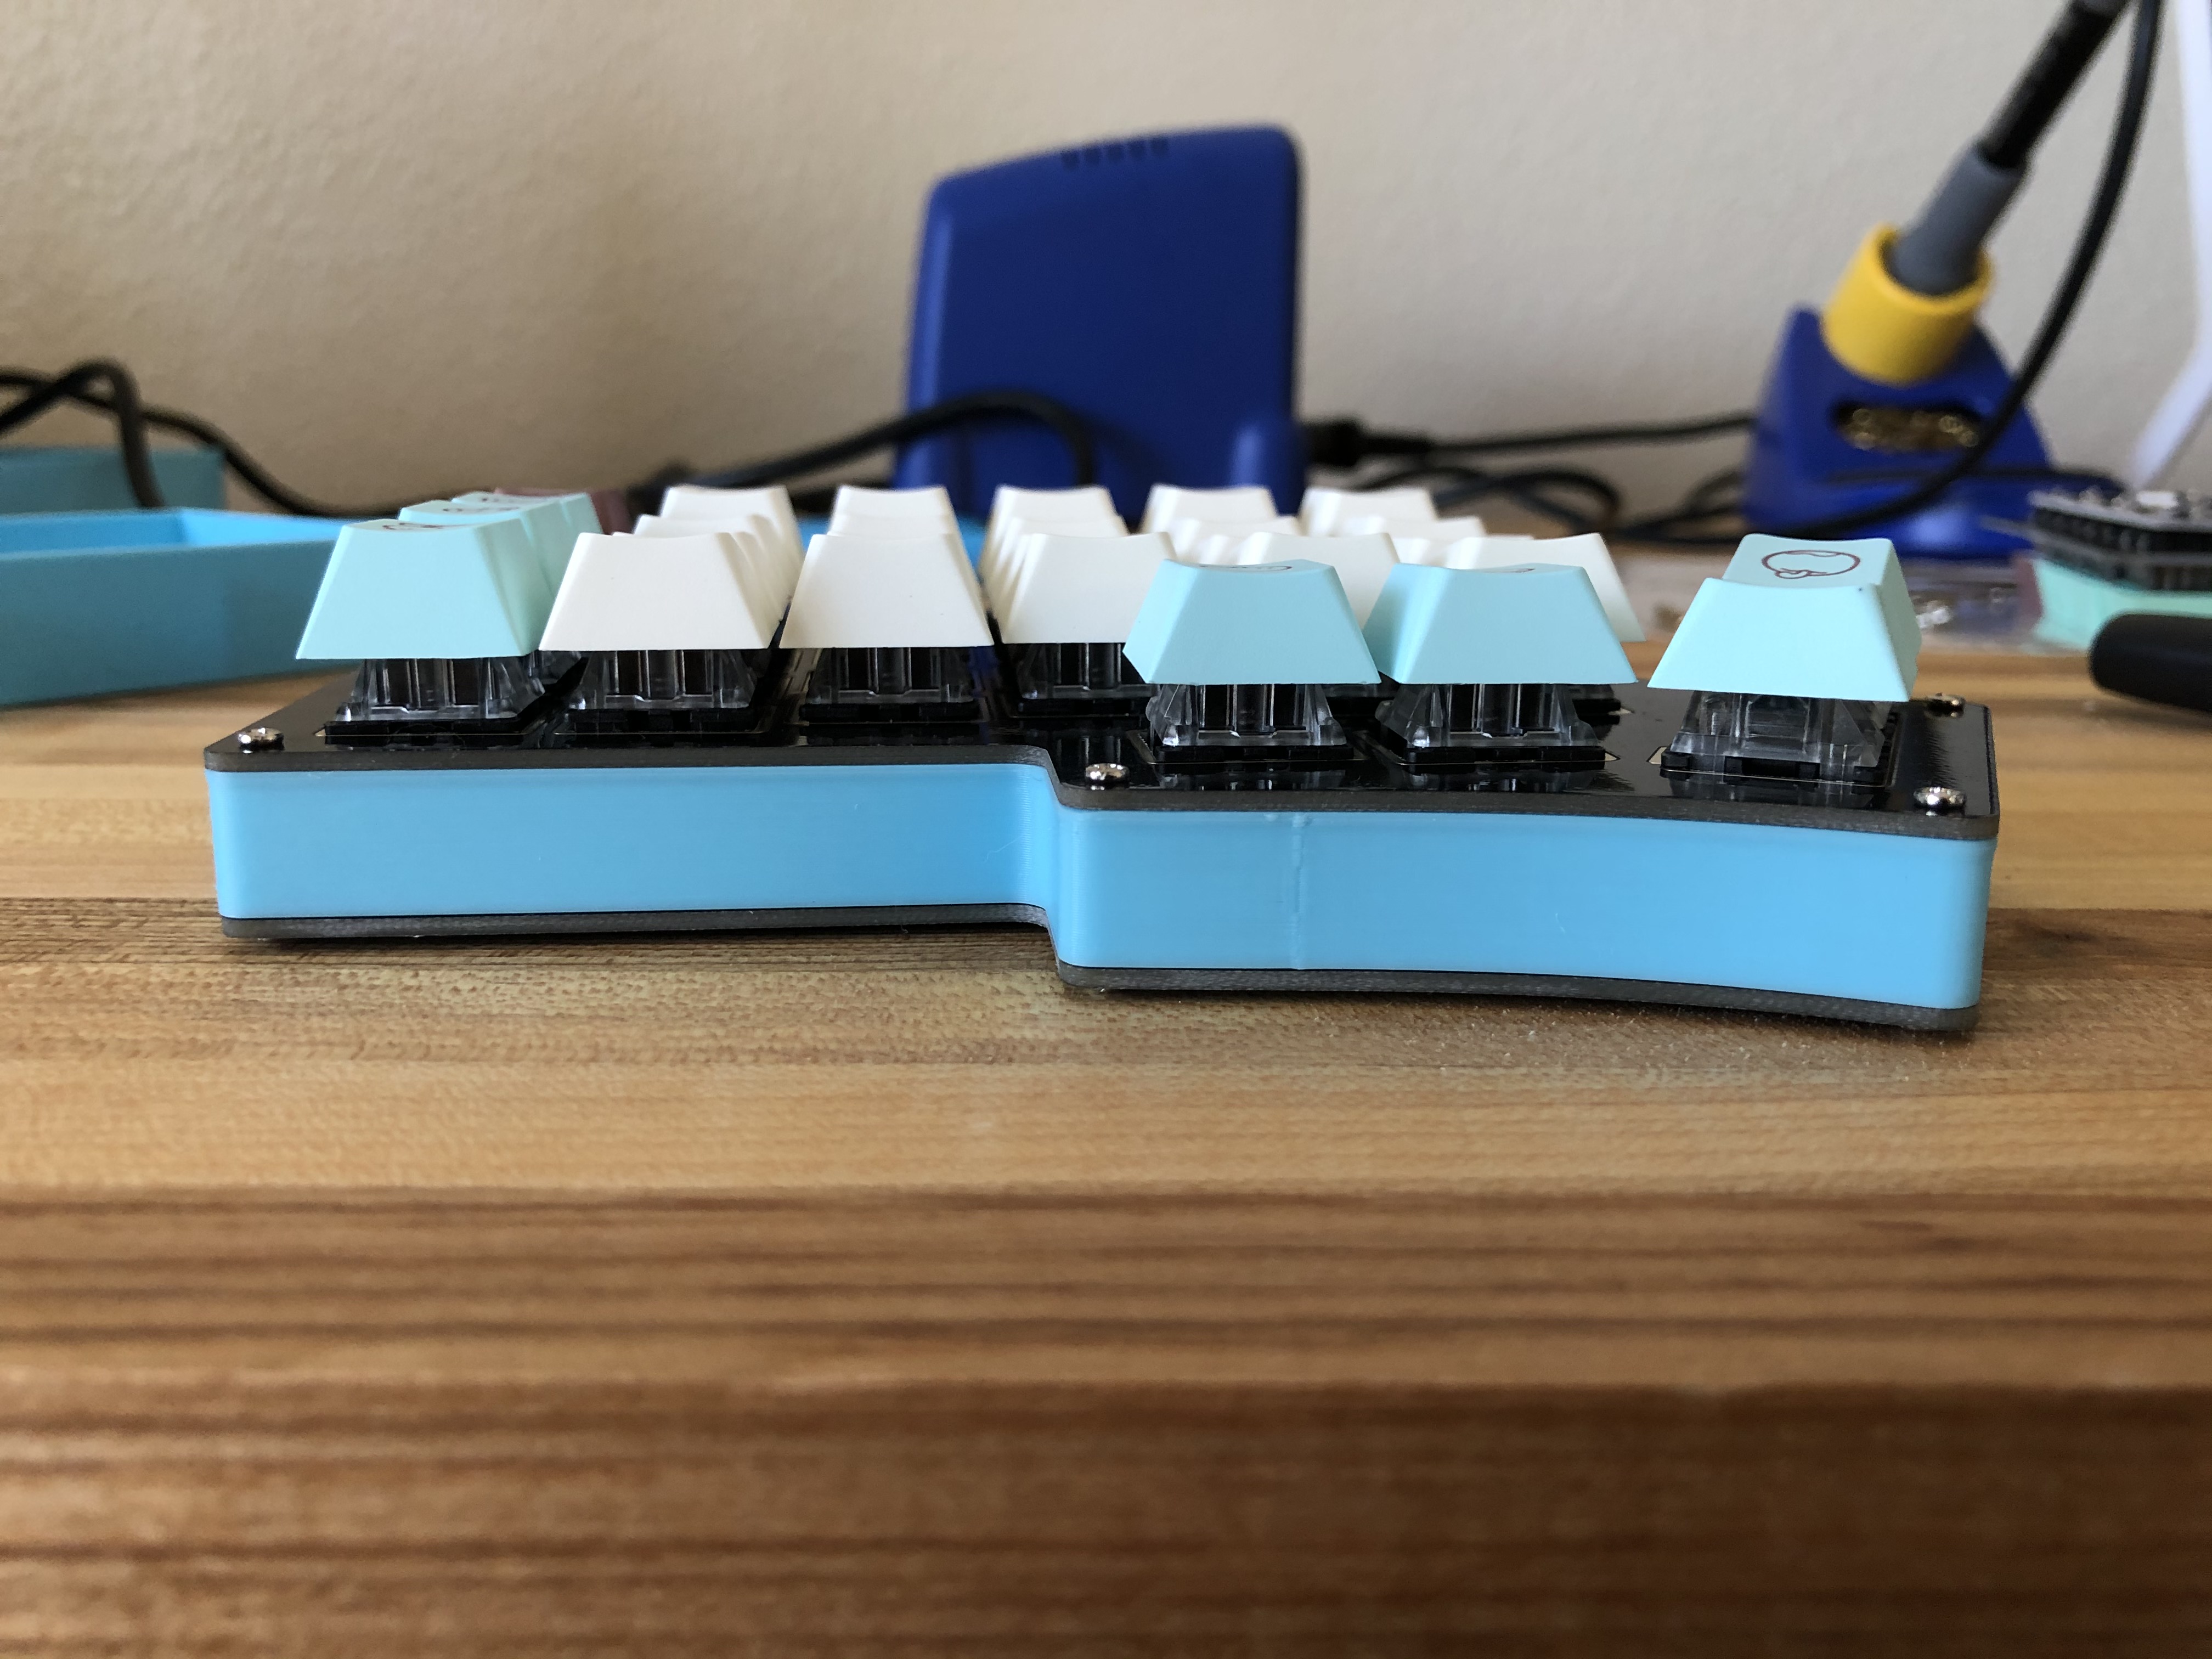
Switches: Gateron Blacks
Keycaps: PBT Islander