Iris Keyboard Update
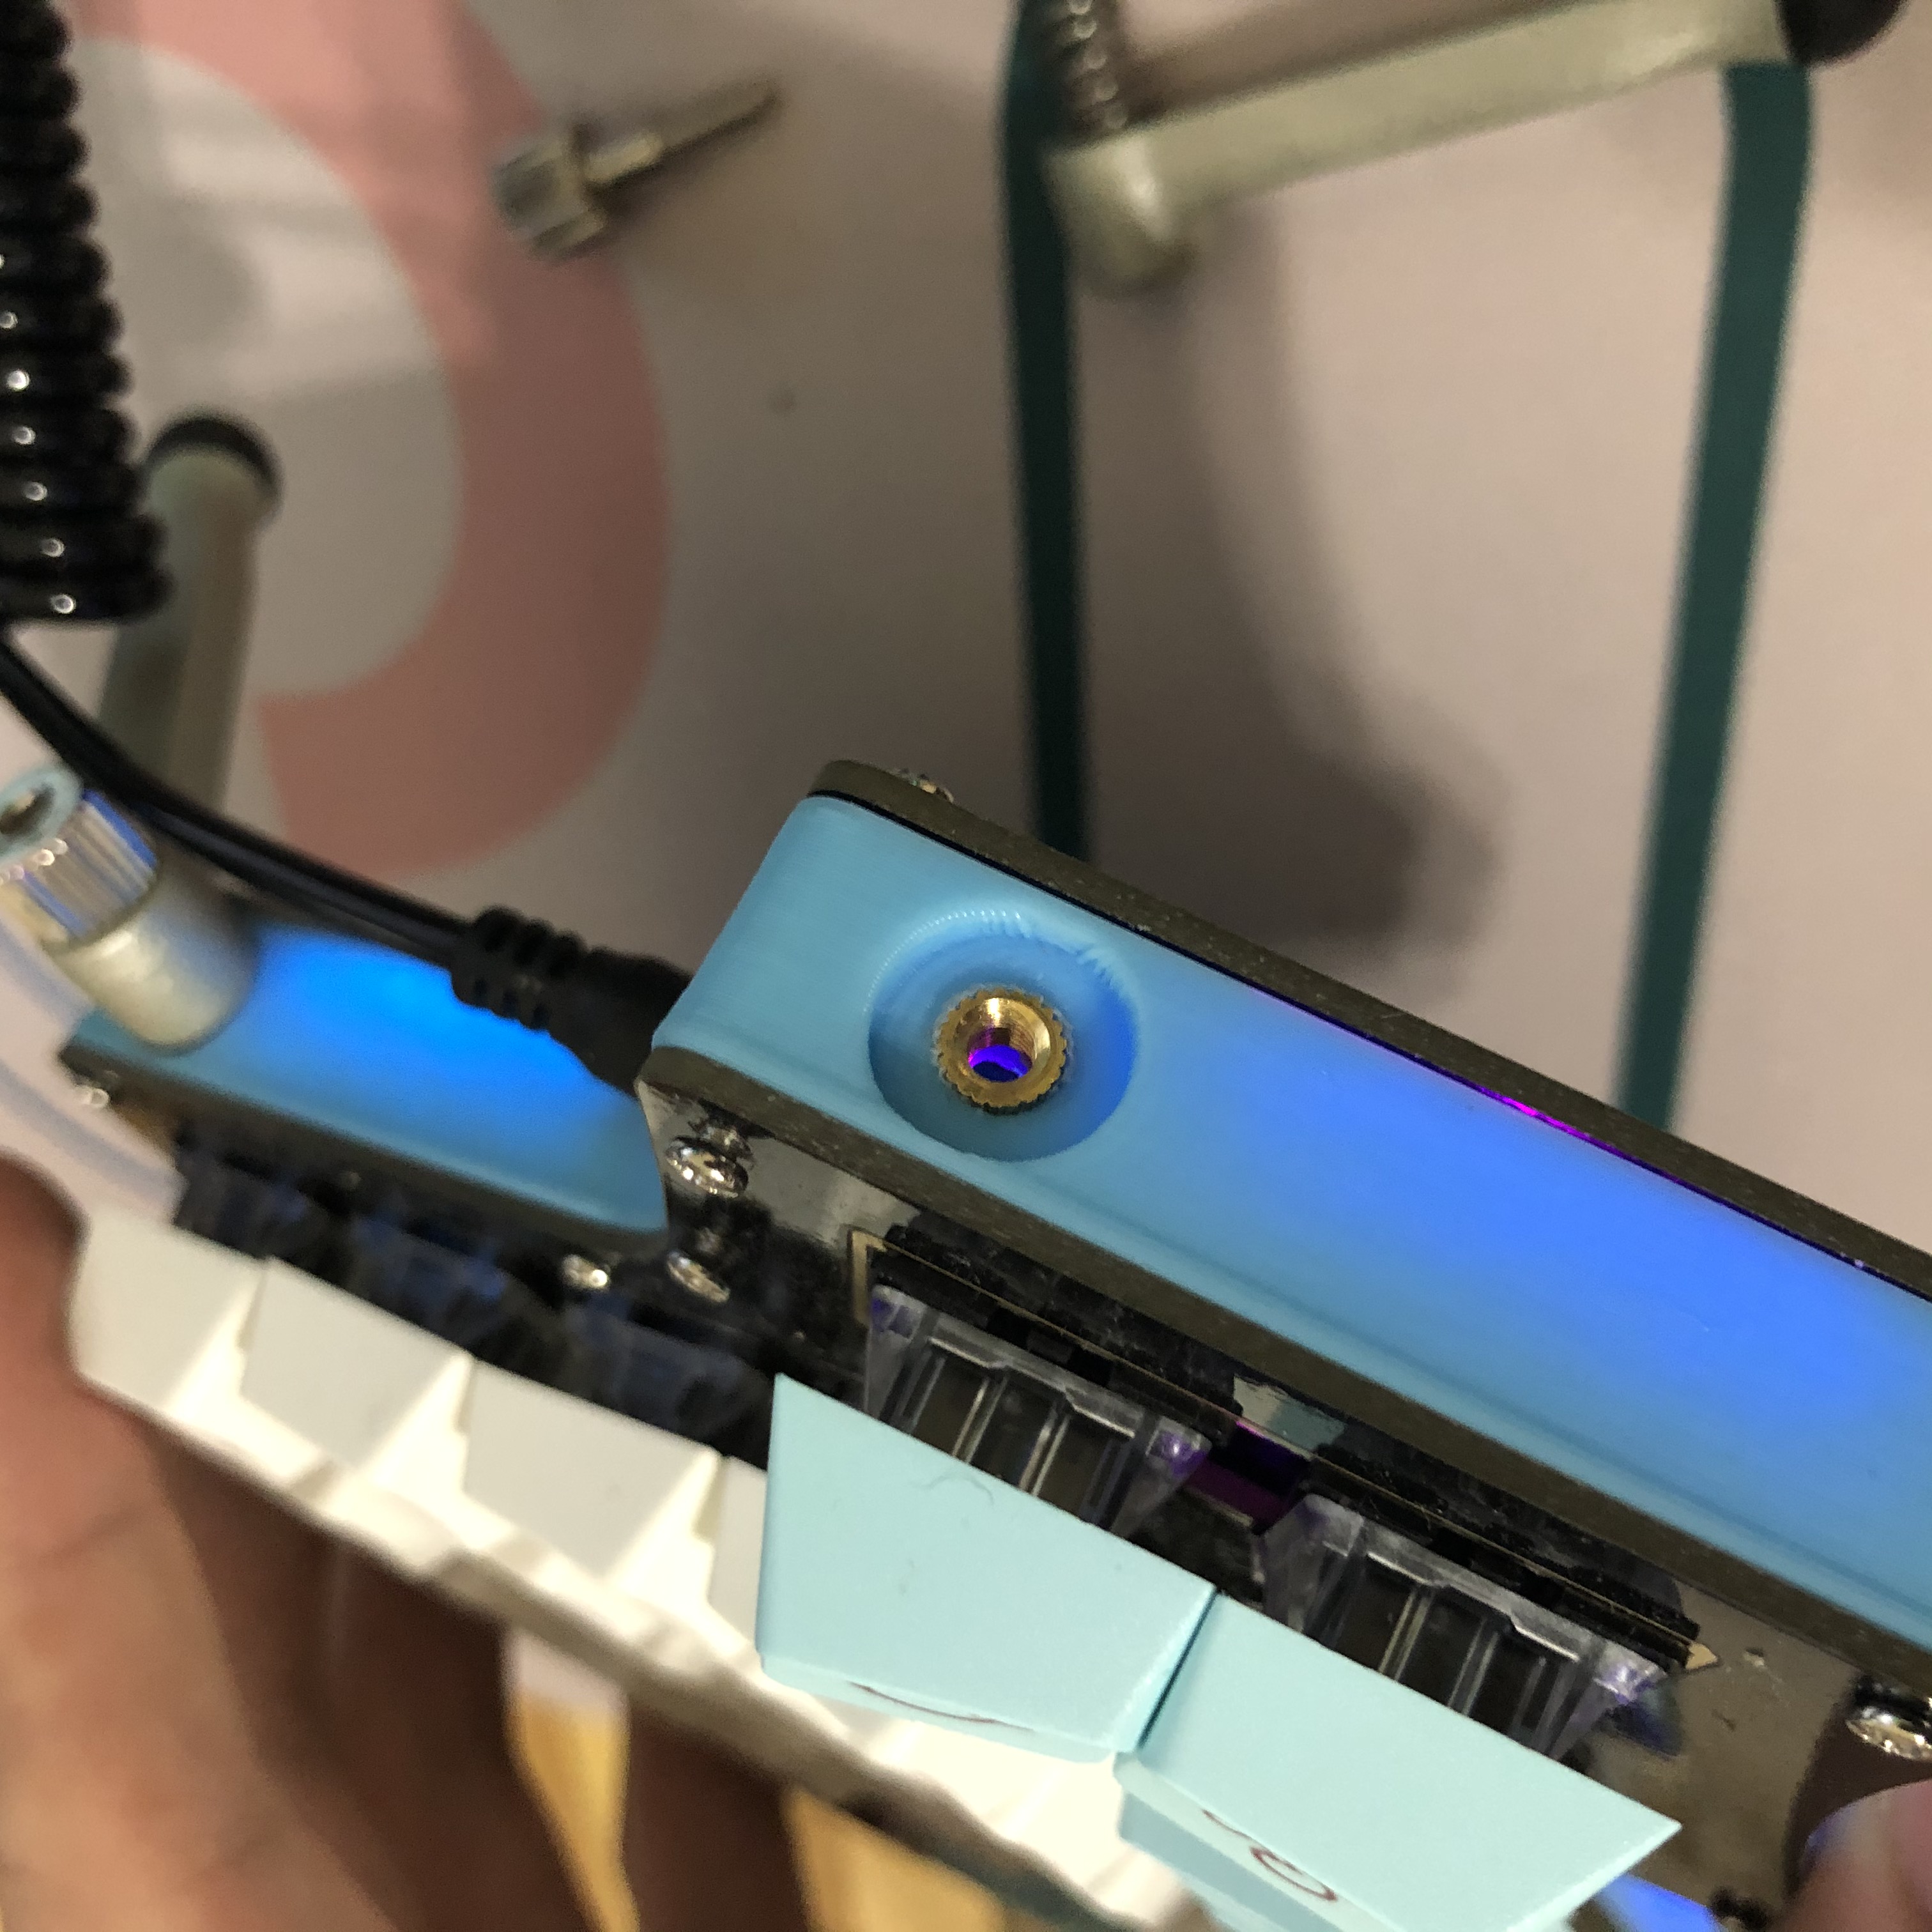
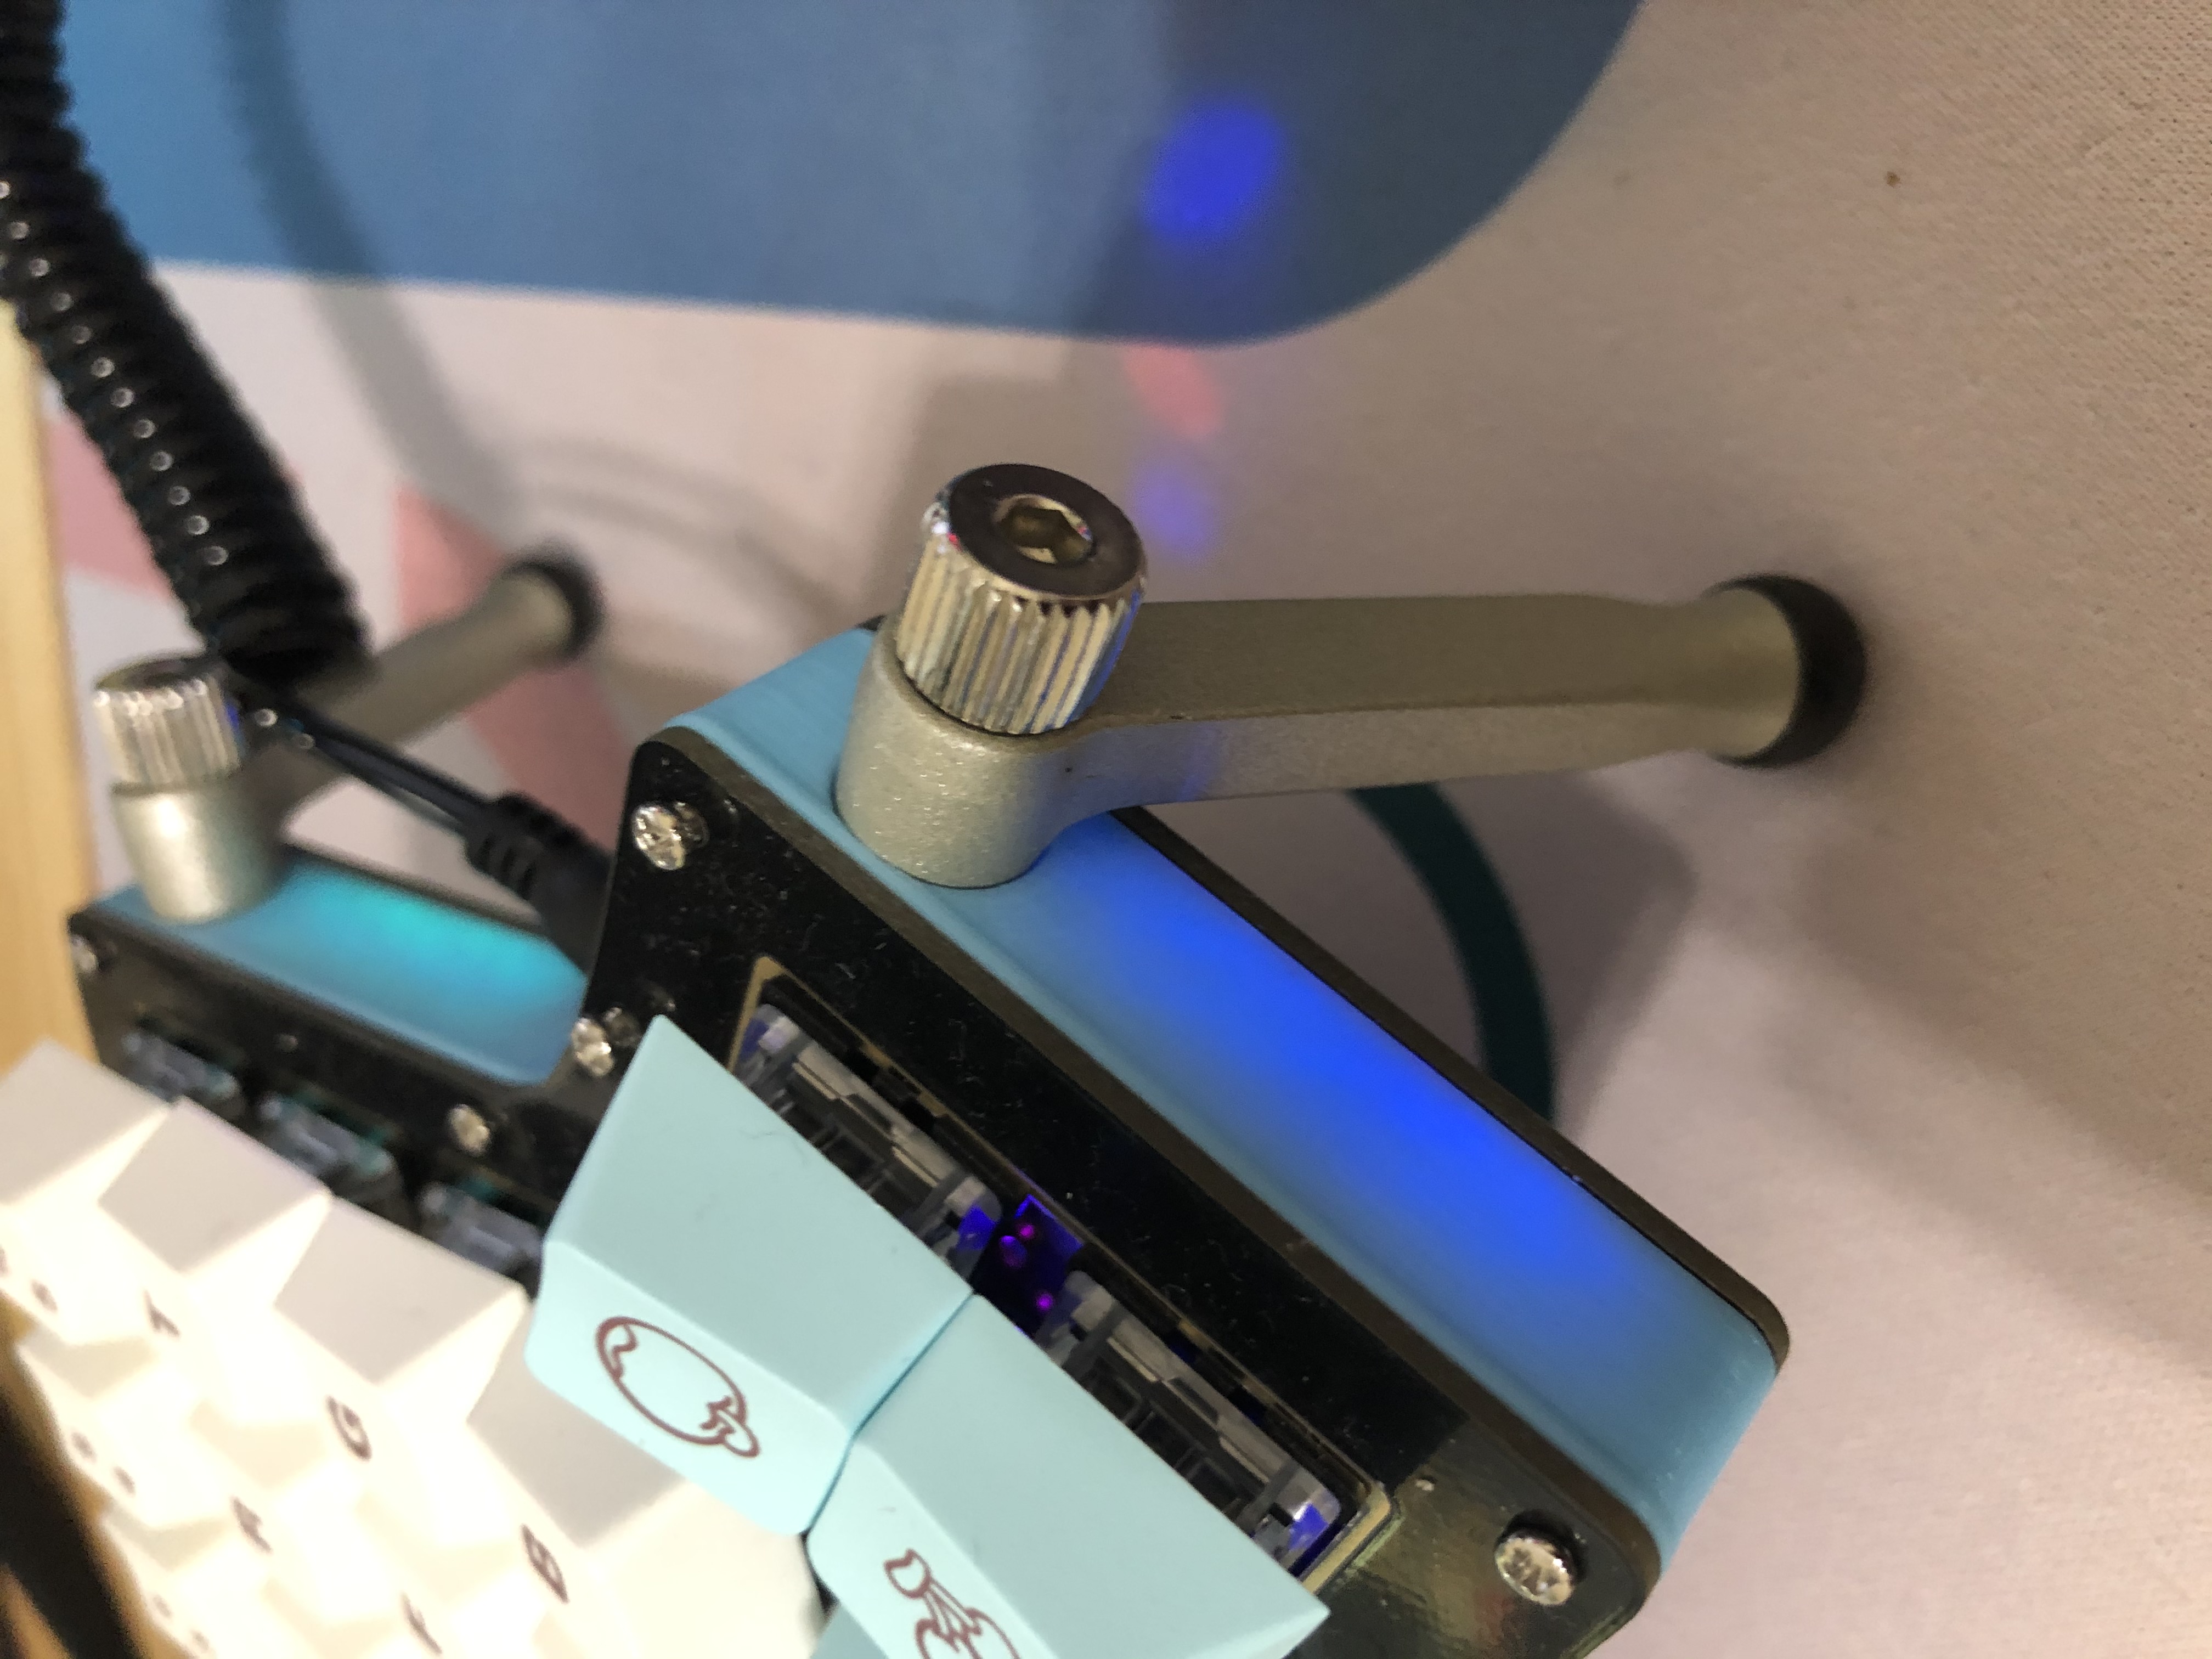
I ordered some Ergodox tenting legs around with the plan of attaching them to my Iris keyboard to create a more ergonomic typing experience. However, I realized I could not just attach these directly onto the mid-layer - there was no way the legs would stay in!
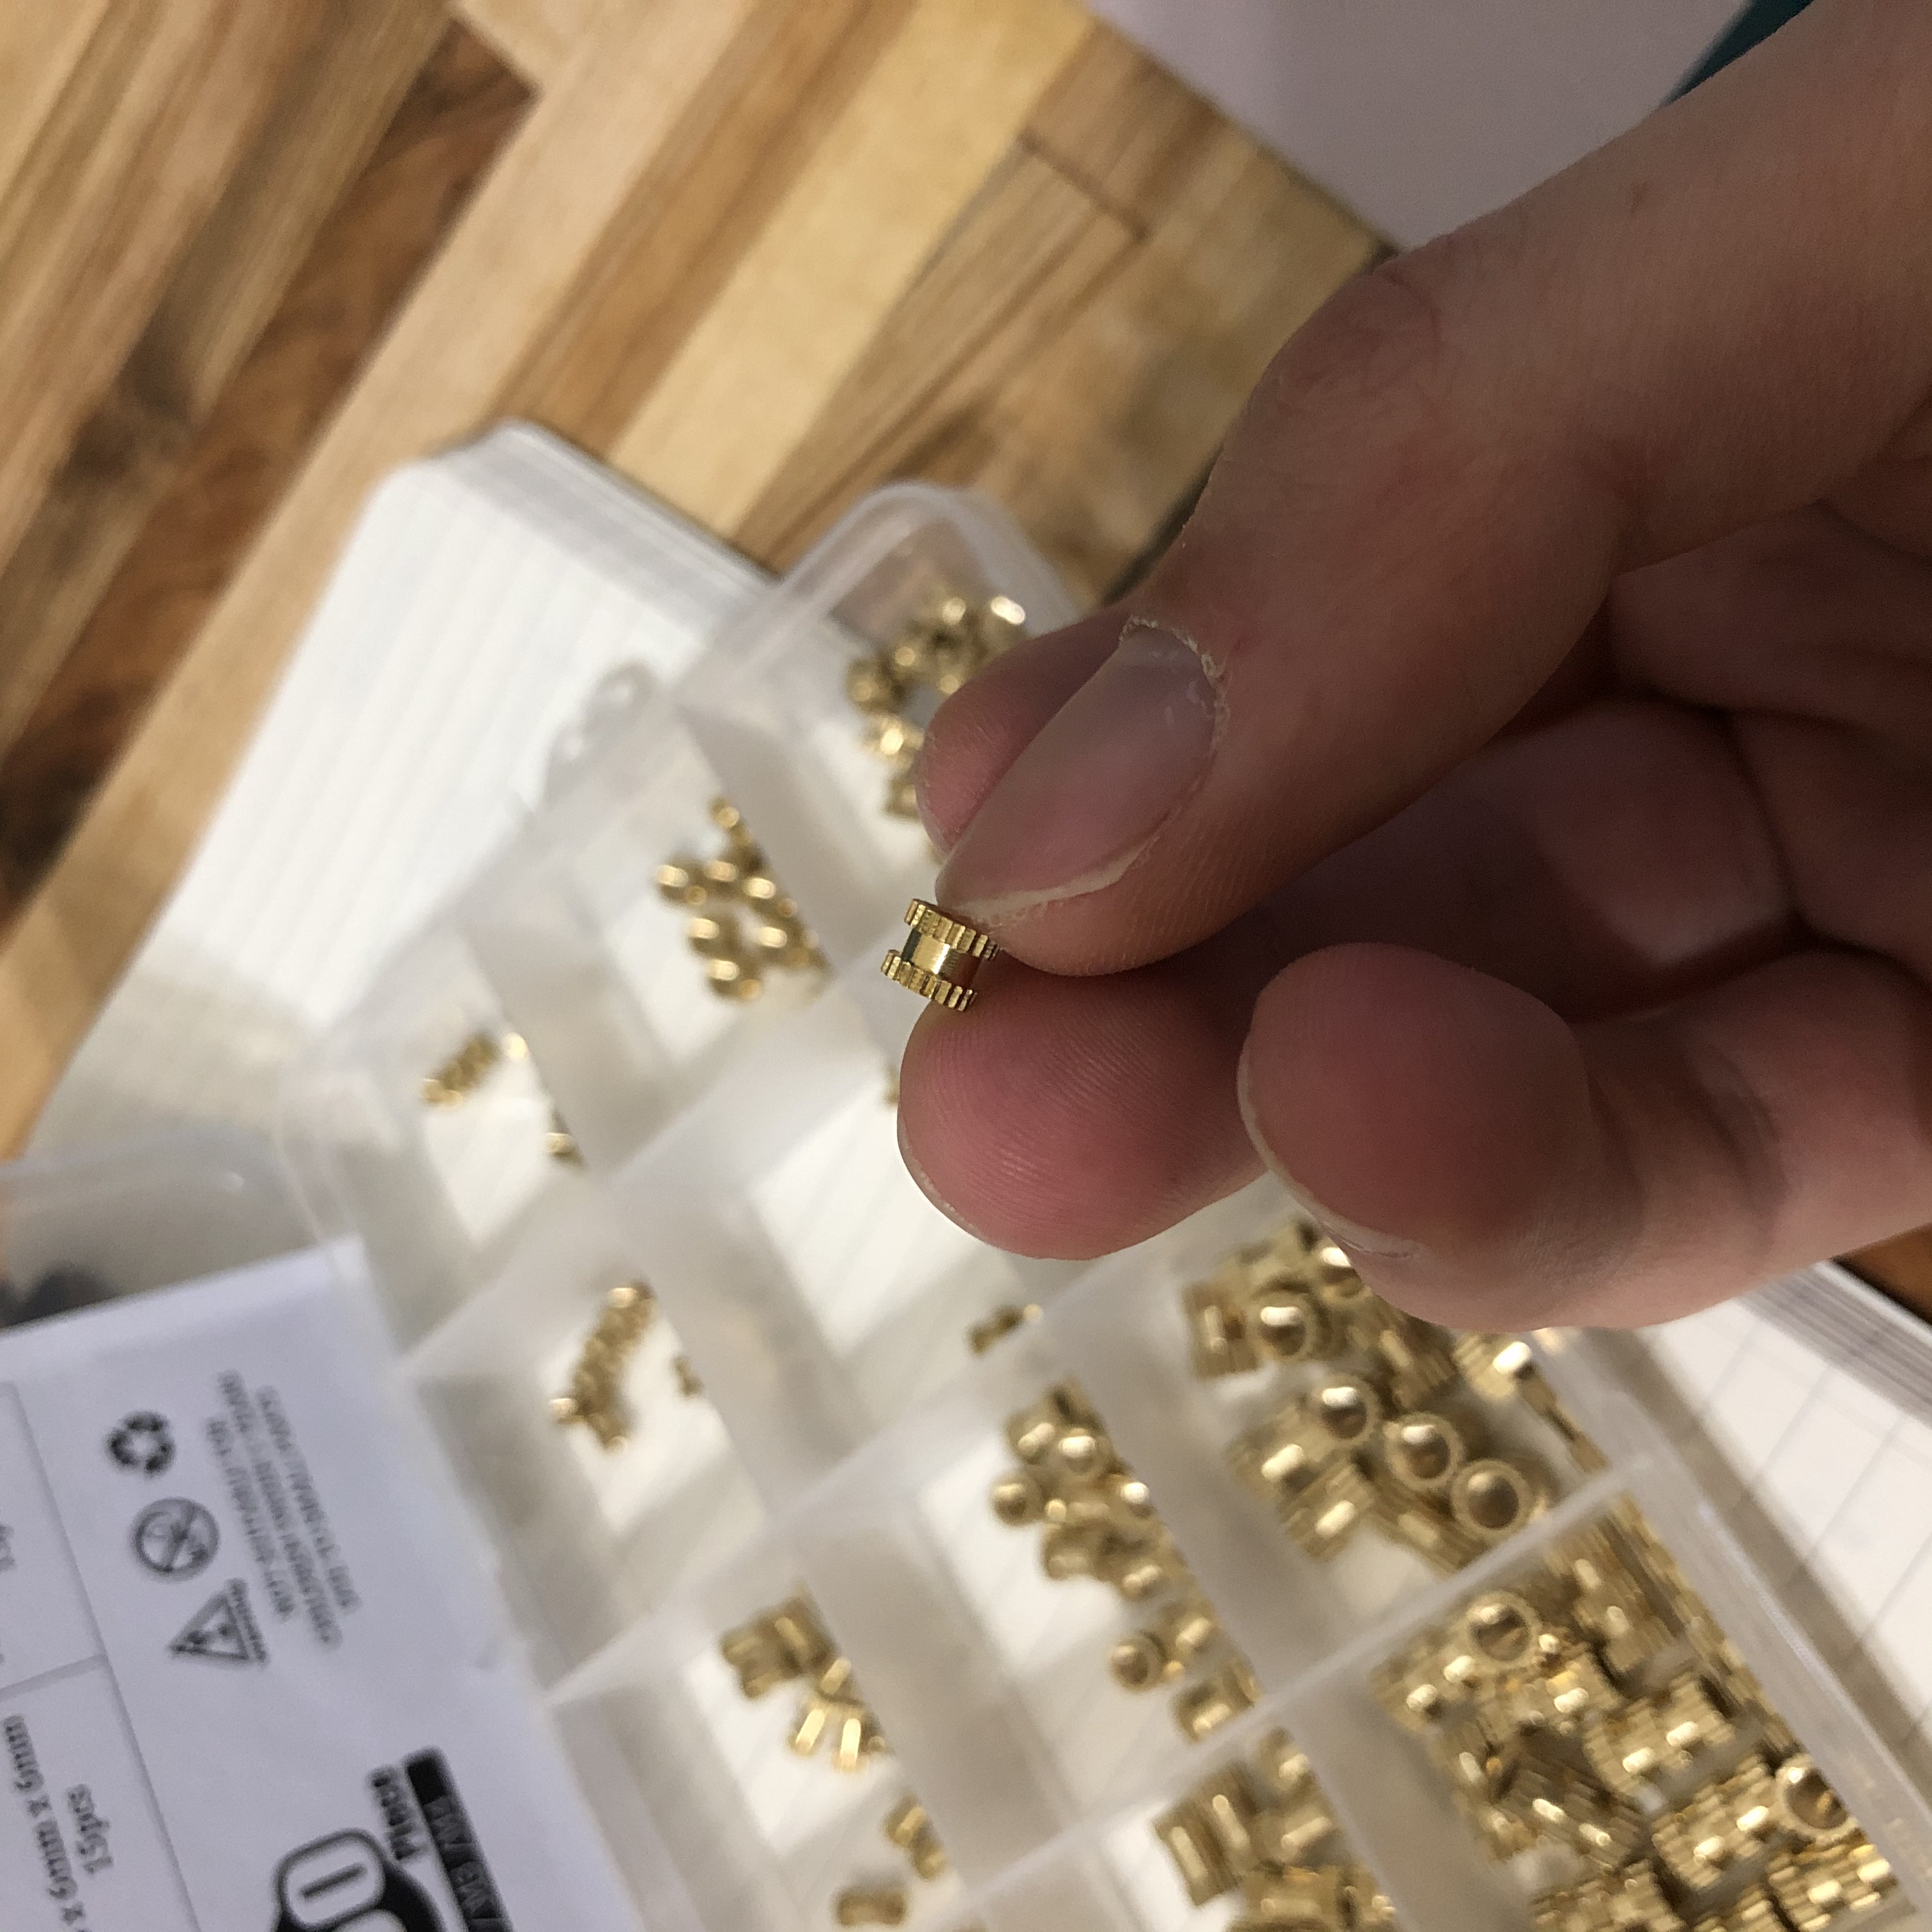
I did some research and discovered I had to buy some M3 female brass threaded inserts and heat them up with my soldering iron to insert them into my mid-layer. I tried looking for tutorials on how to use heated threaded inserts with 3D printed parts. I can’t remember where exactly I read this, but for some reason I had the impression of setting my soldering temperature to 700F and attaching the threaded inserts. Well, it was way too hot and my 3D printed mid-layer (made from Inland PLA) quickly melted.
Uh-oh. I had to reprint my midlayer. While it was reprinting, I did some testing with temperatures. I know that the PLA typically prints around 200-215F in my 3D printer, so I used that as the baseline for my tests. Setting the soldering temperature at 215F, I tried attaching the M3 brass insert. However, it took way too long. I cranked up the temperature by 50 degrees to 265 and this worked, but still took awhile. After some more testing, I ended up setting my temperature to 300F and this seemed to give me a nice balance between speed and the ability to safely add my threaded insert.
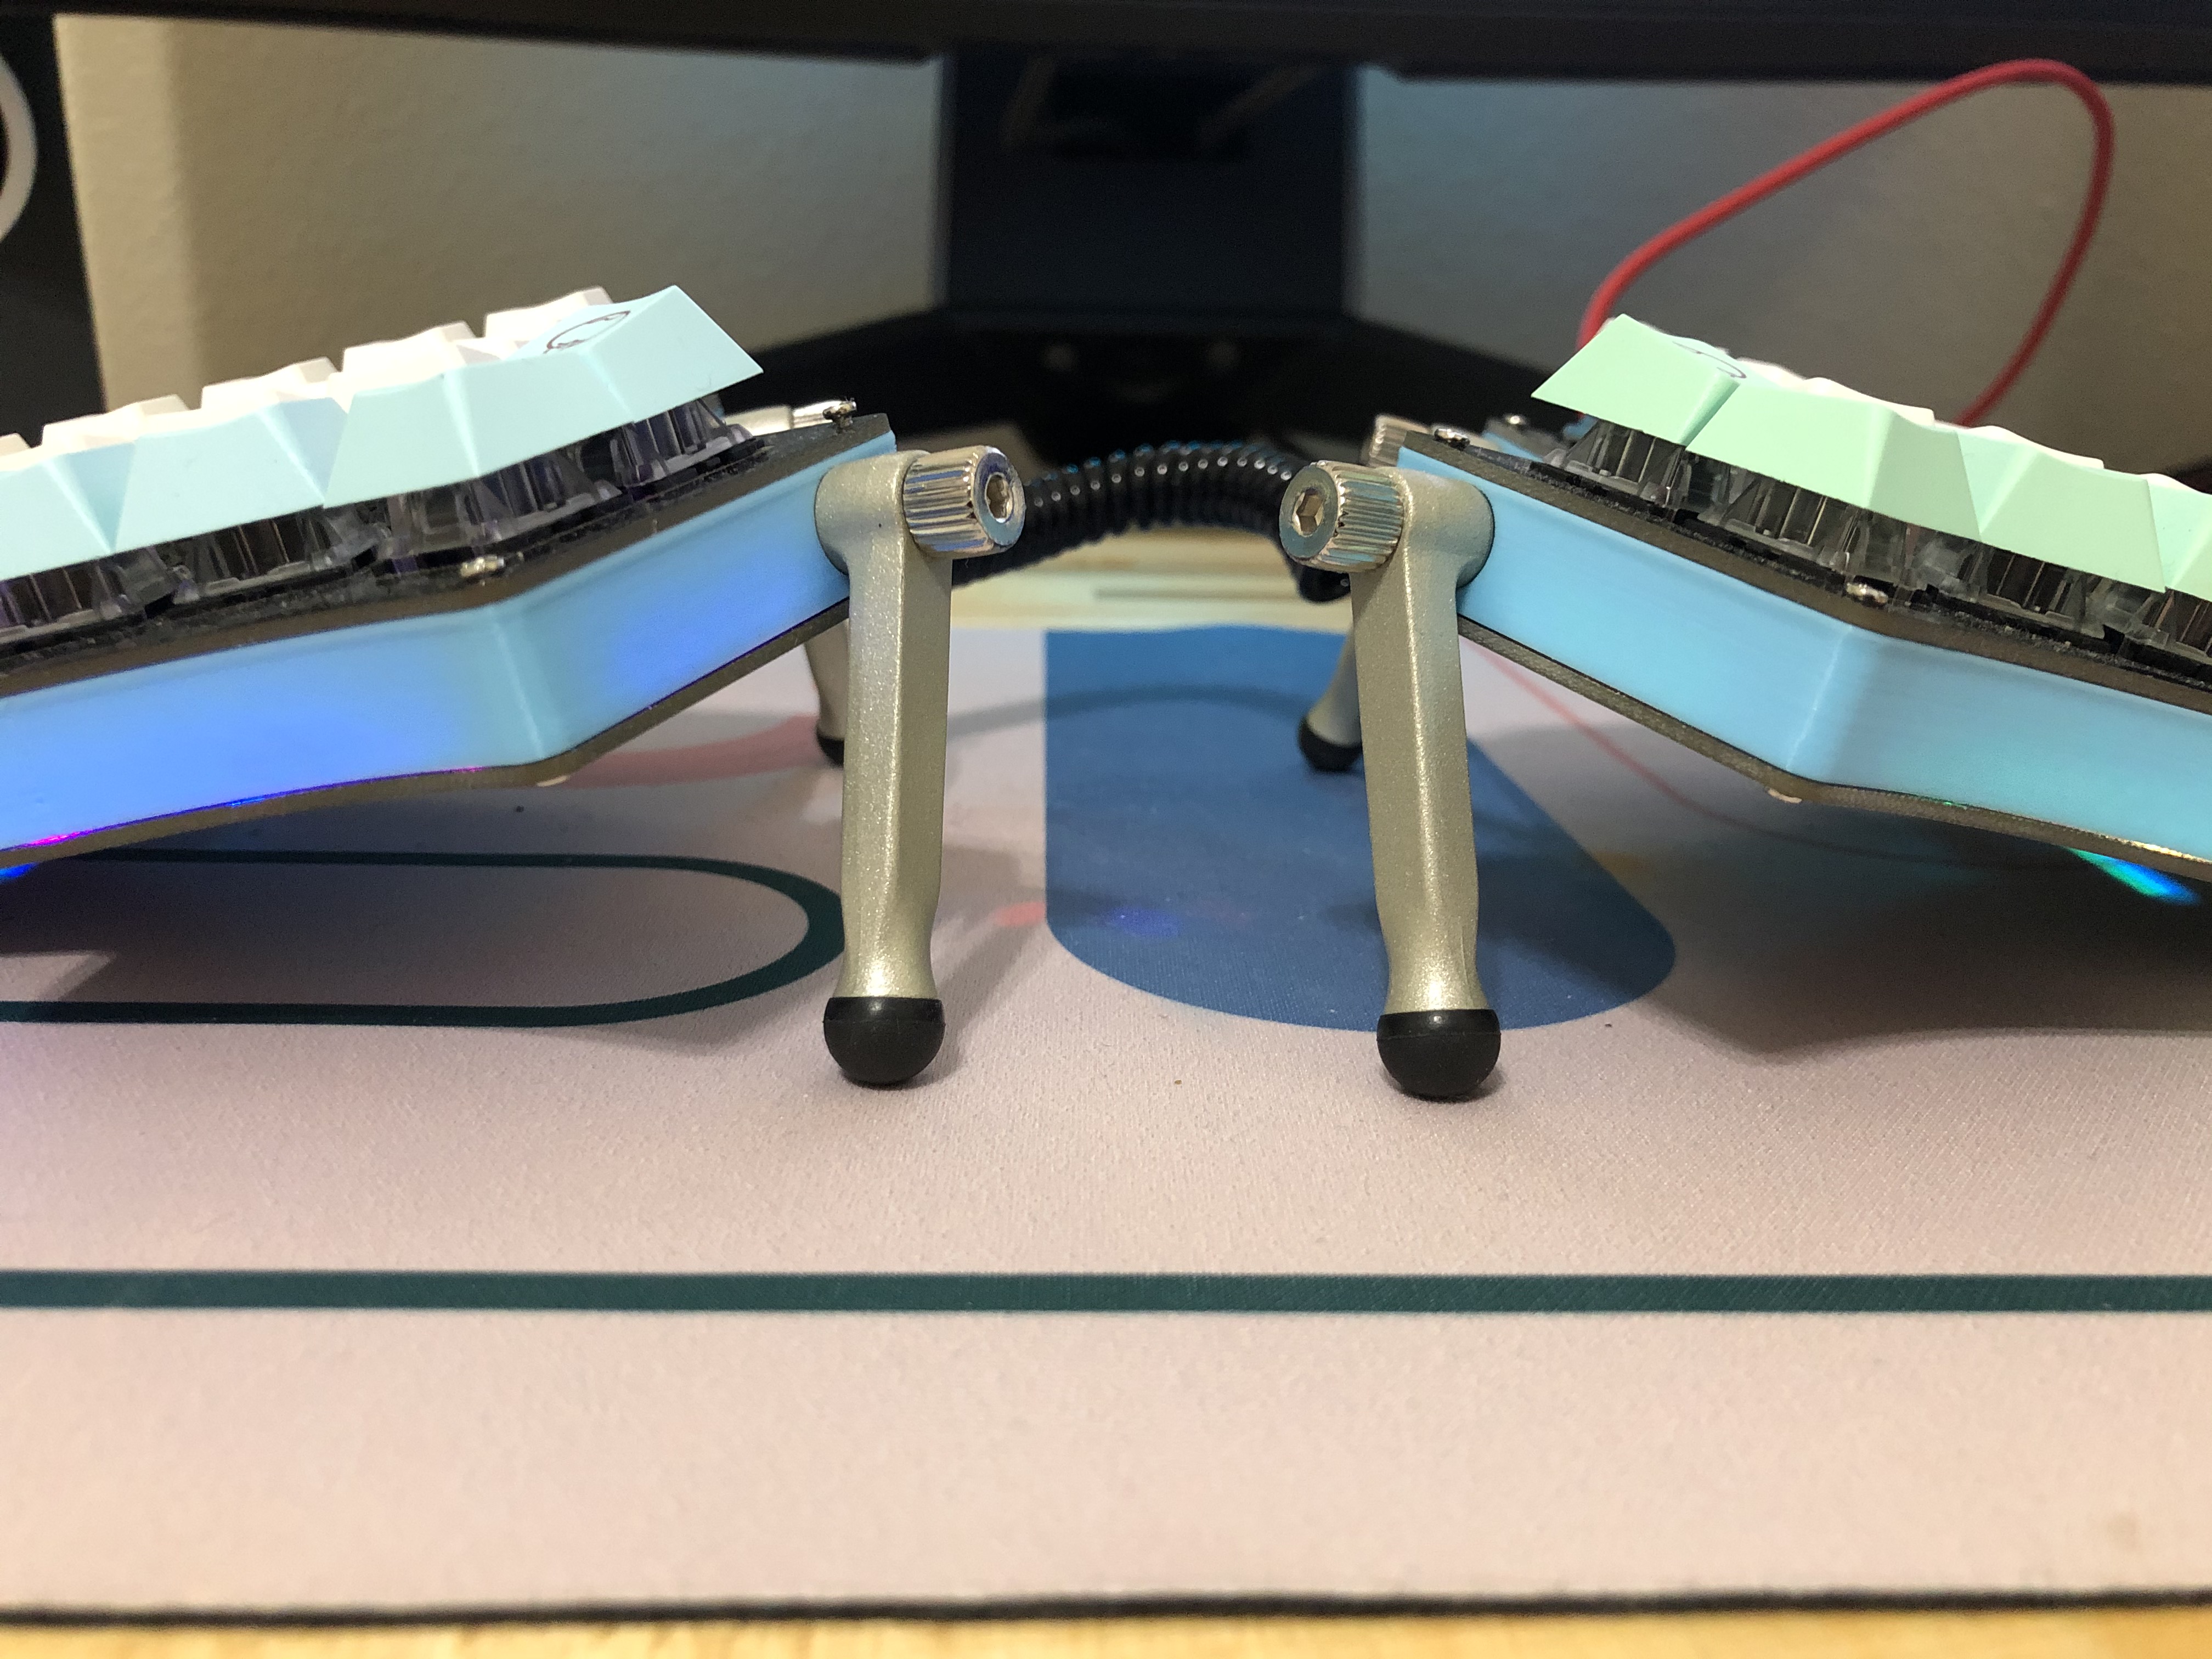
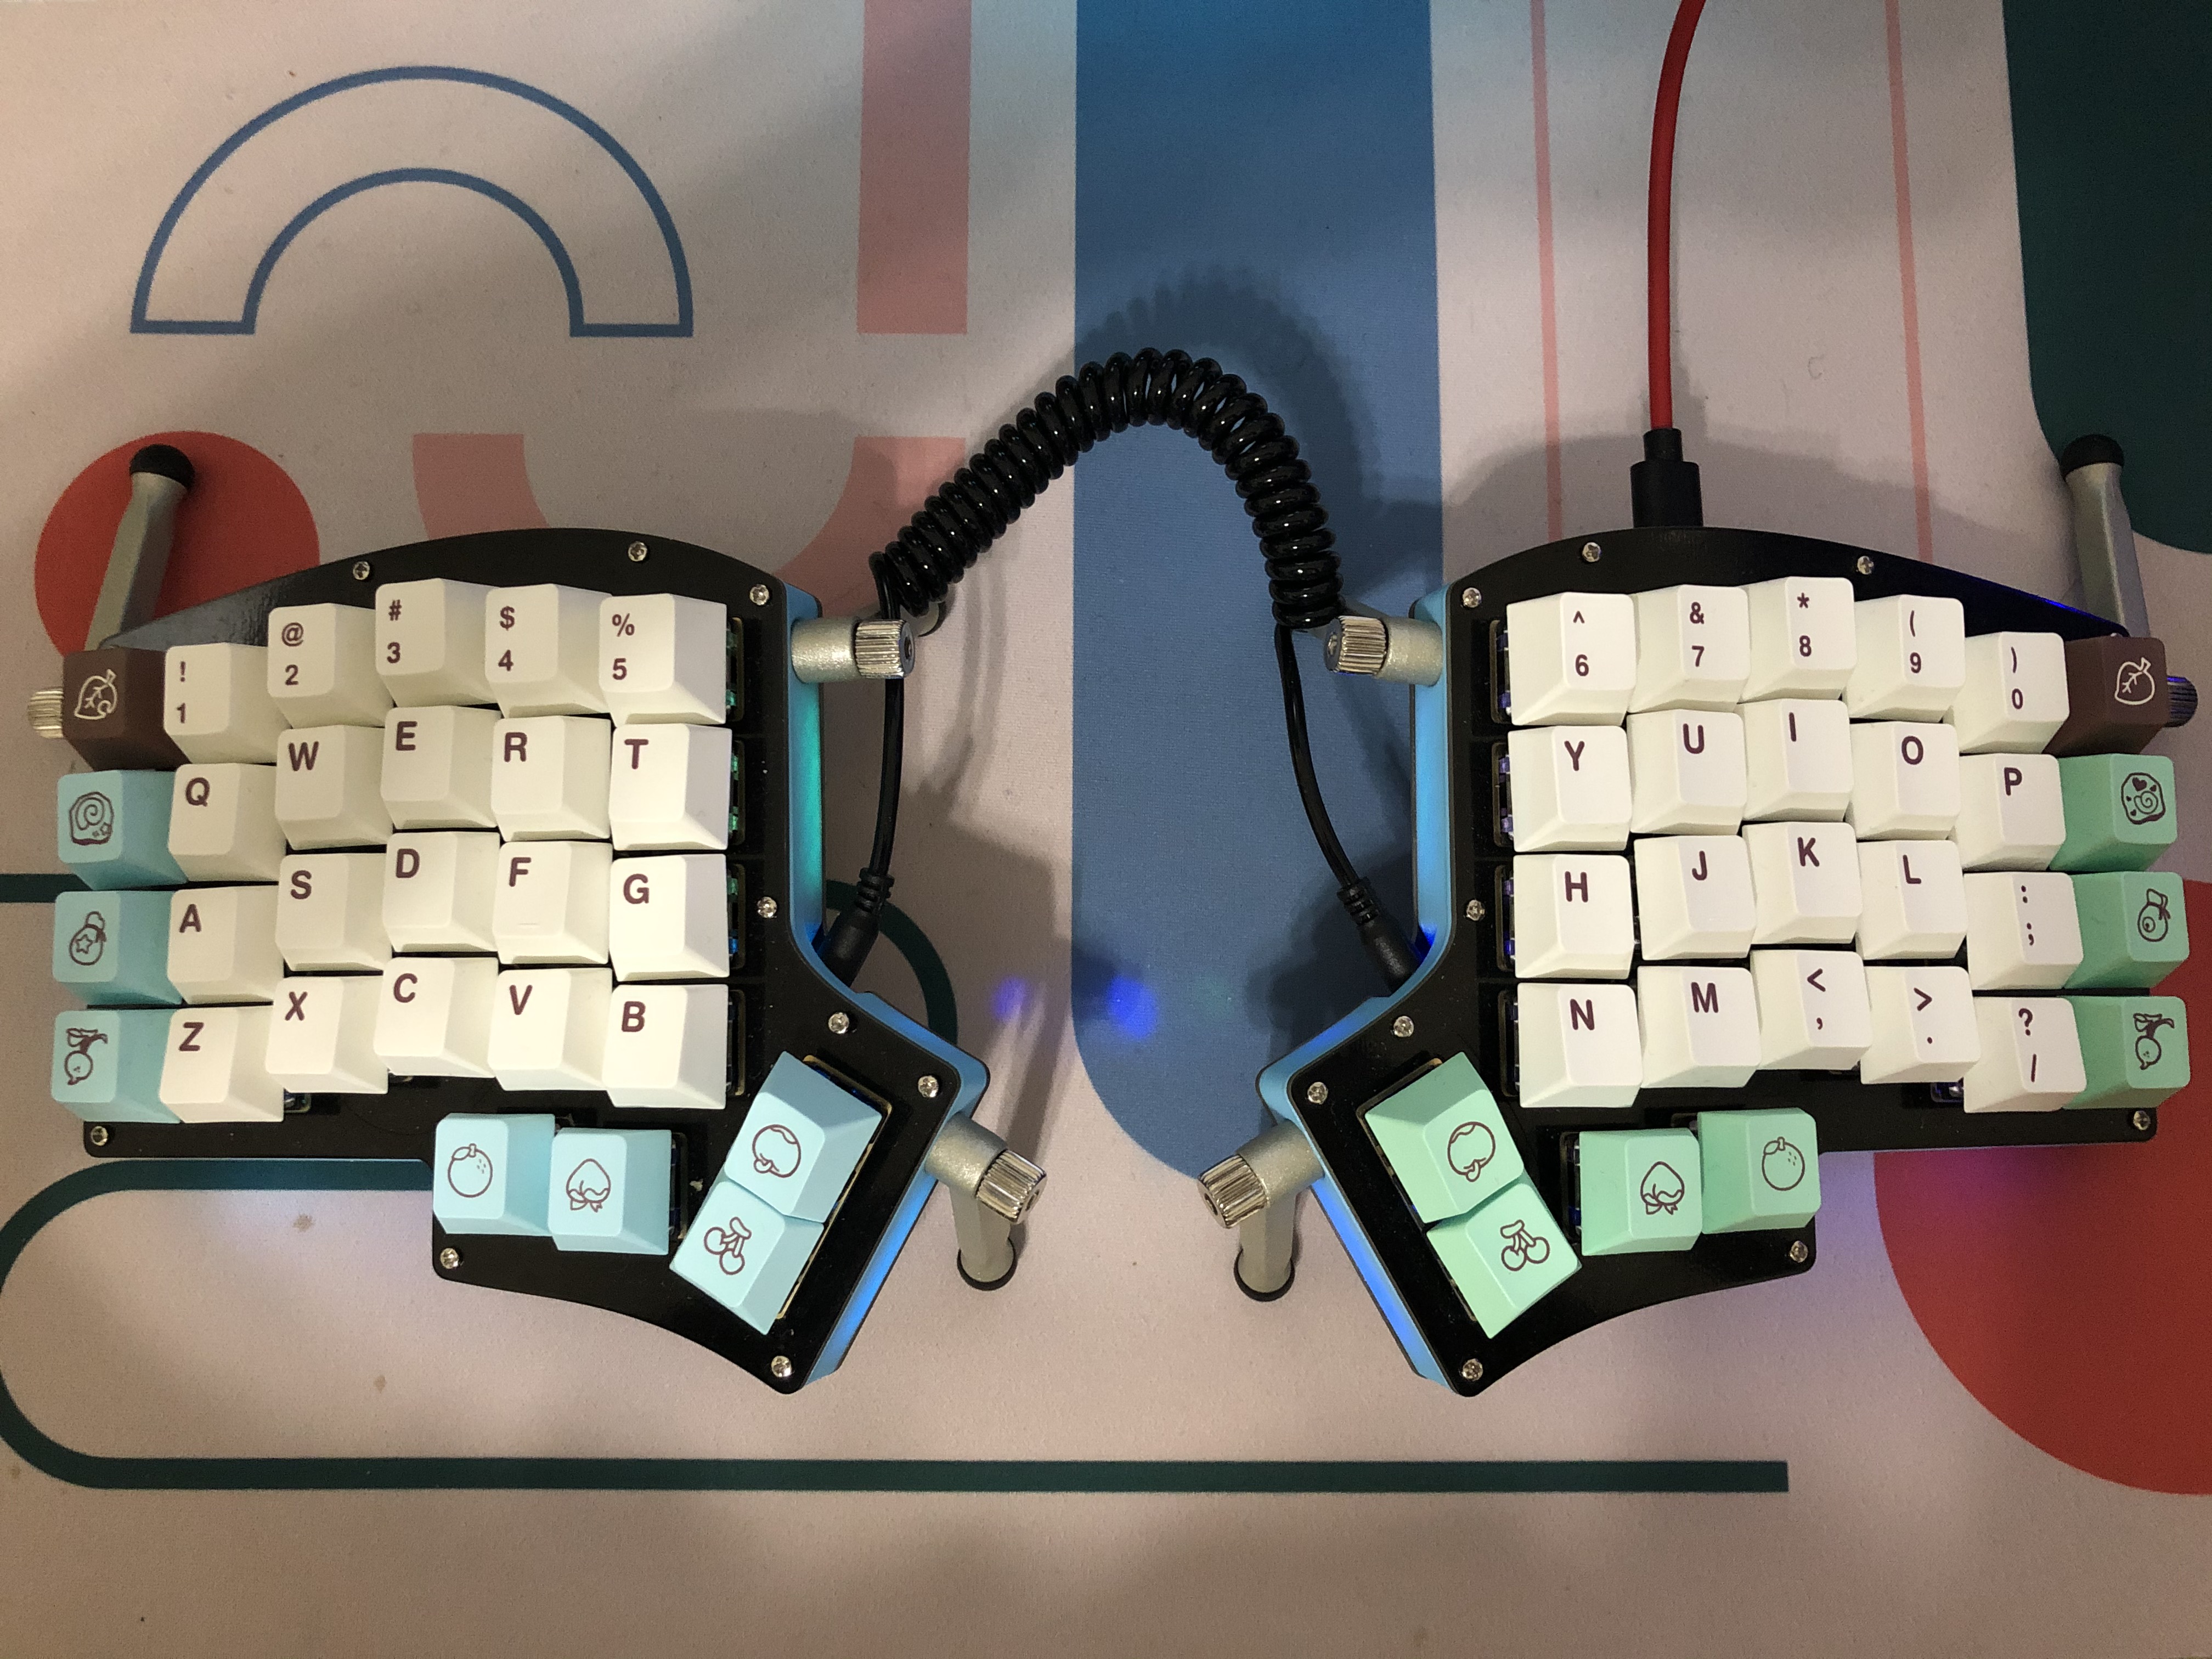
One thing I realized after testing my setup for awhile was that I needed to change my keymap. Parentheses require some nimble dexterity and that’s a big no-no for programming. Another interest is trying out a different keyboard layout such as Dvorak. Also, I may want to try out a different tenting solution. Although the Ergodox tenting legs are nice, I find 1) they do not keep their position/remain in place well and 2) they are not aggressively angled enough for my preferences. I may try a 3D printed tenting solution next time and sell off my Ergodox legs.